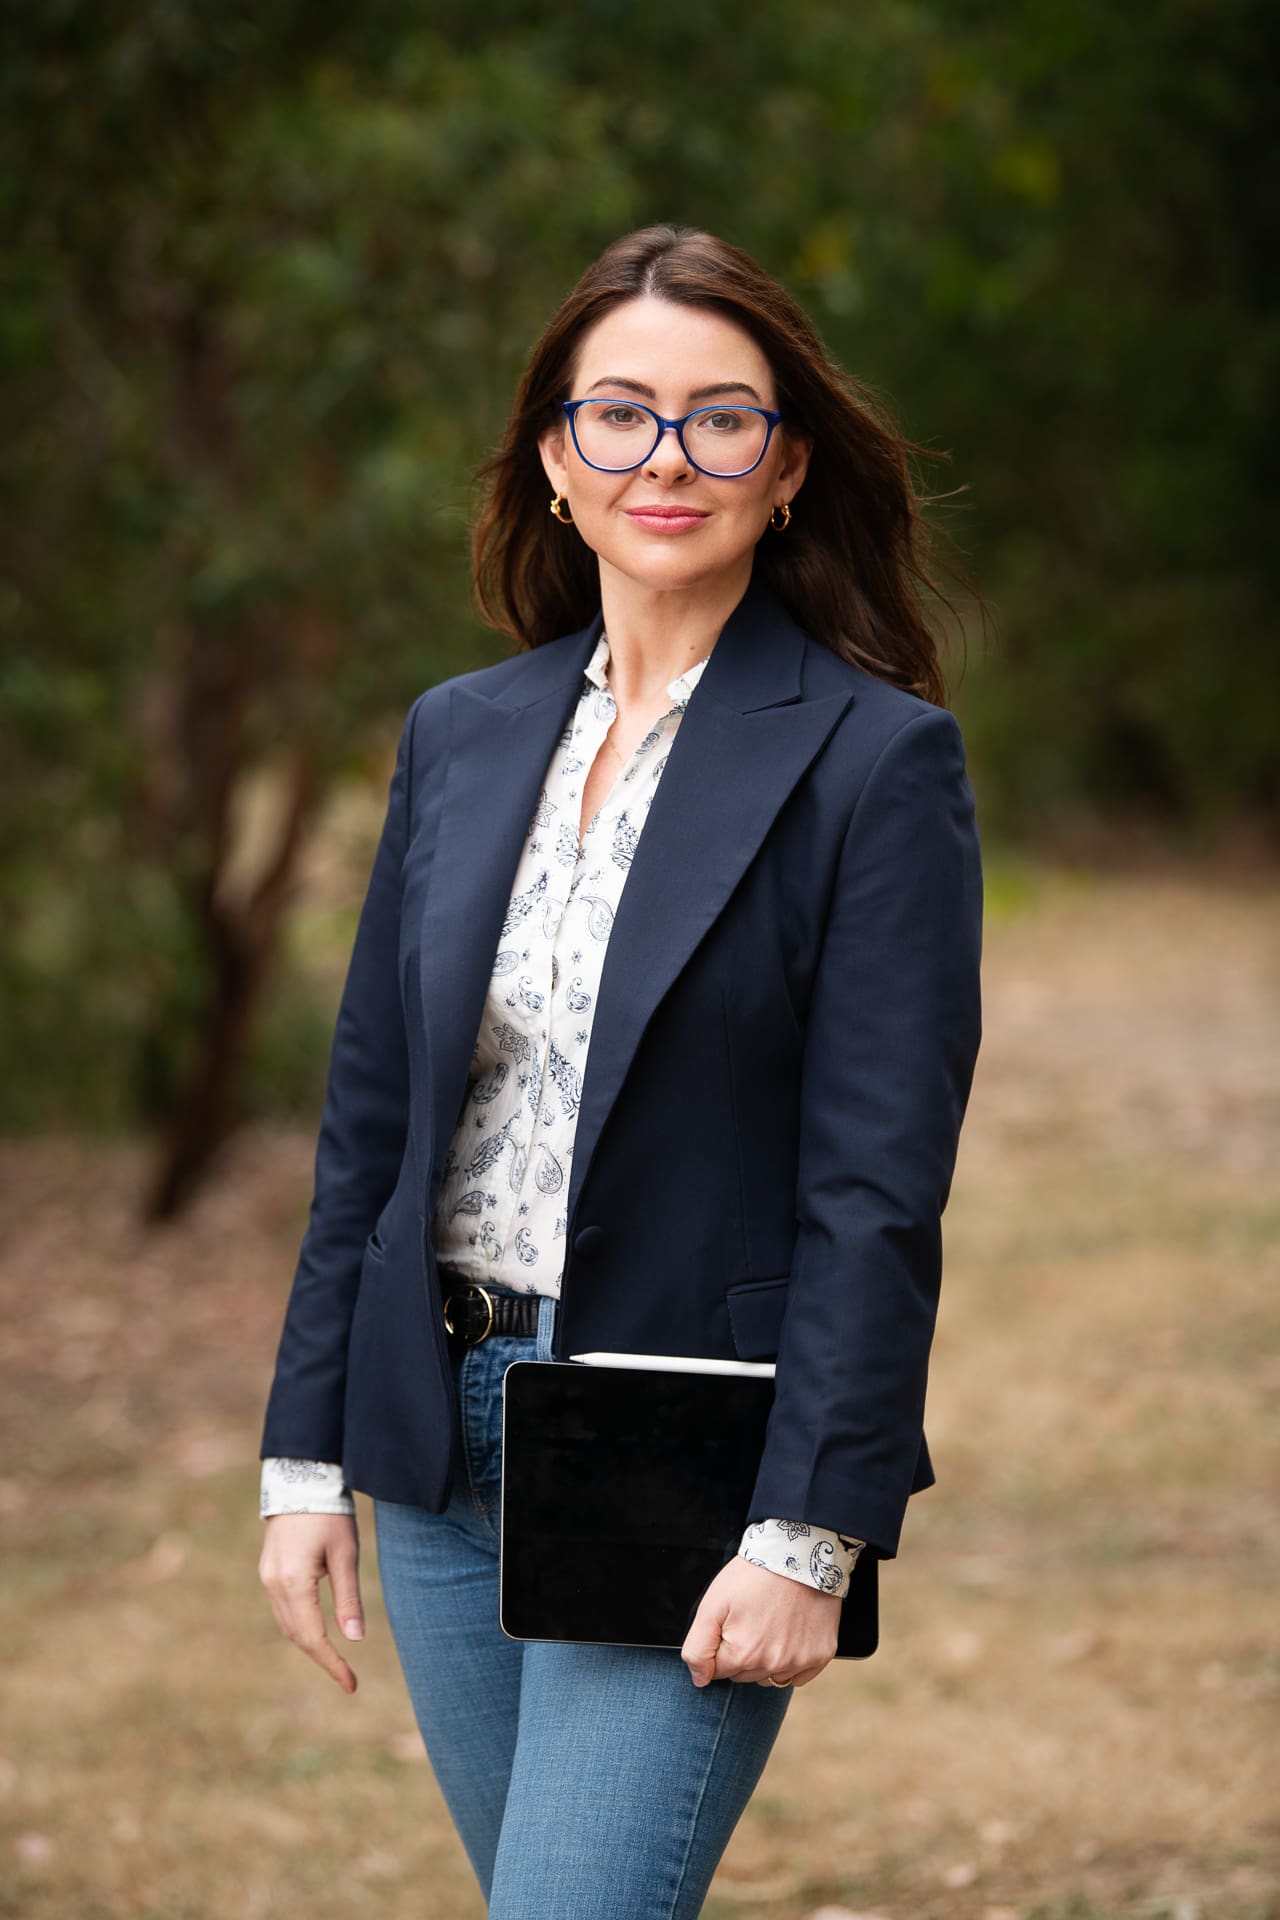
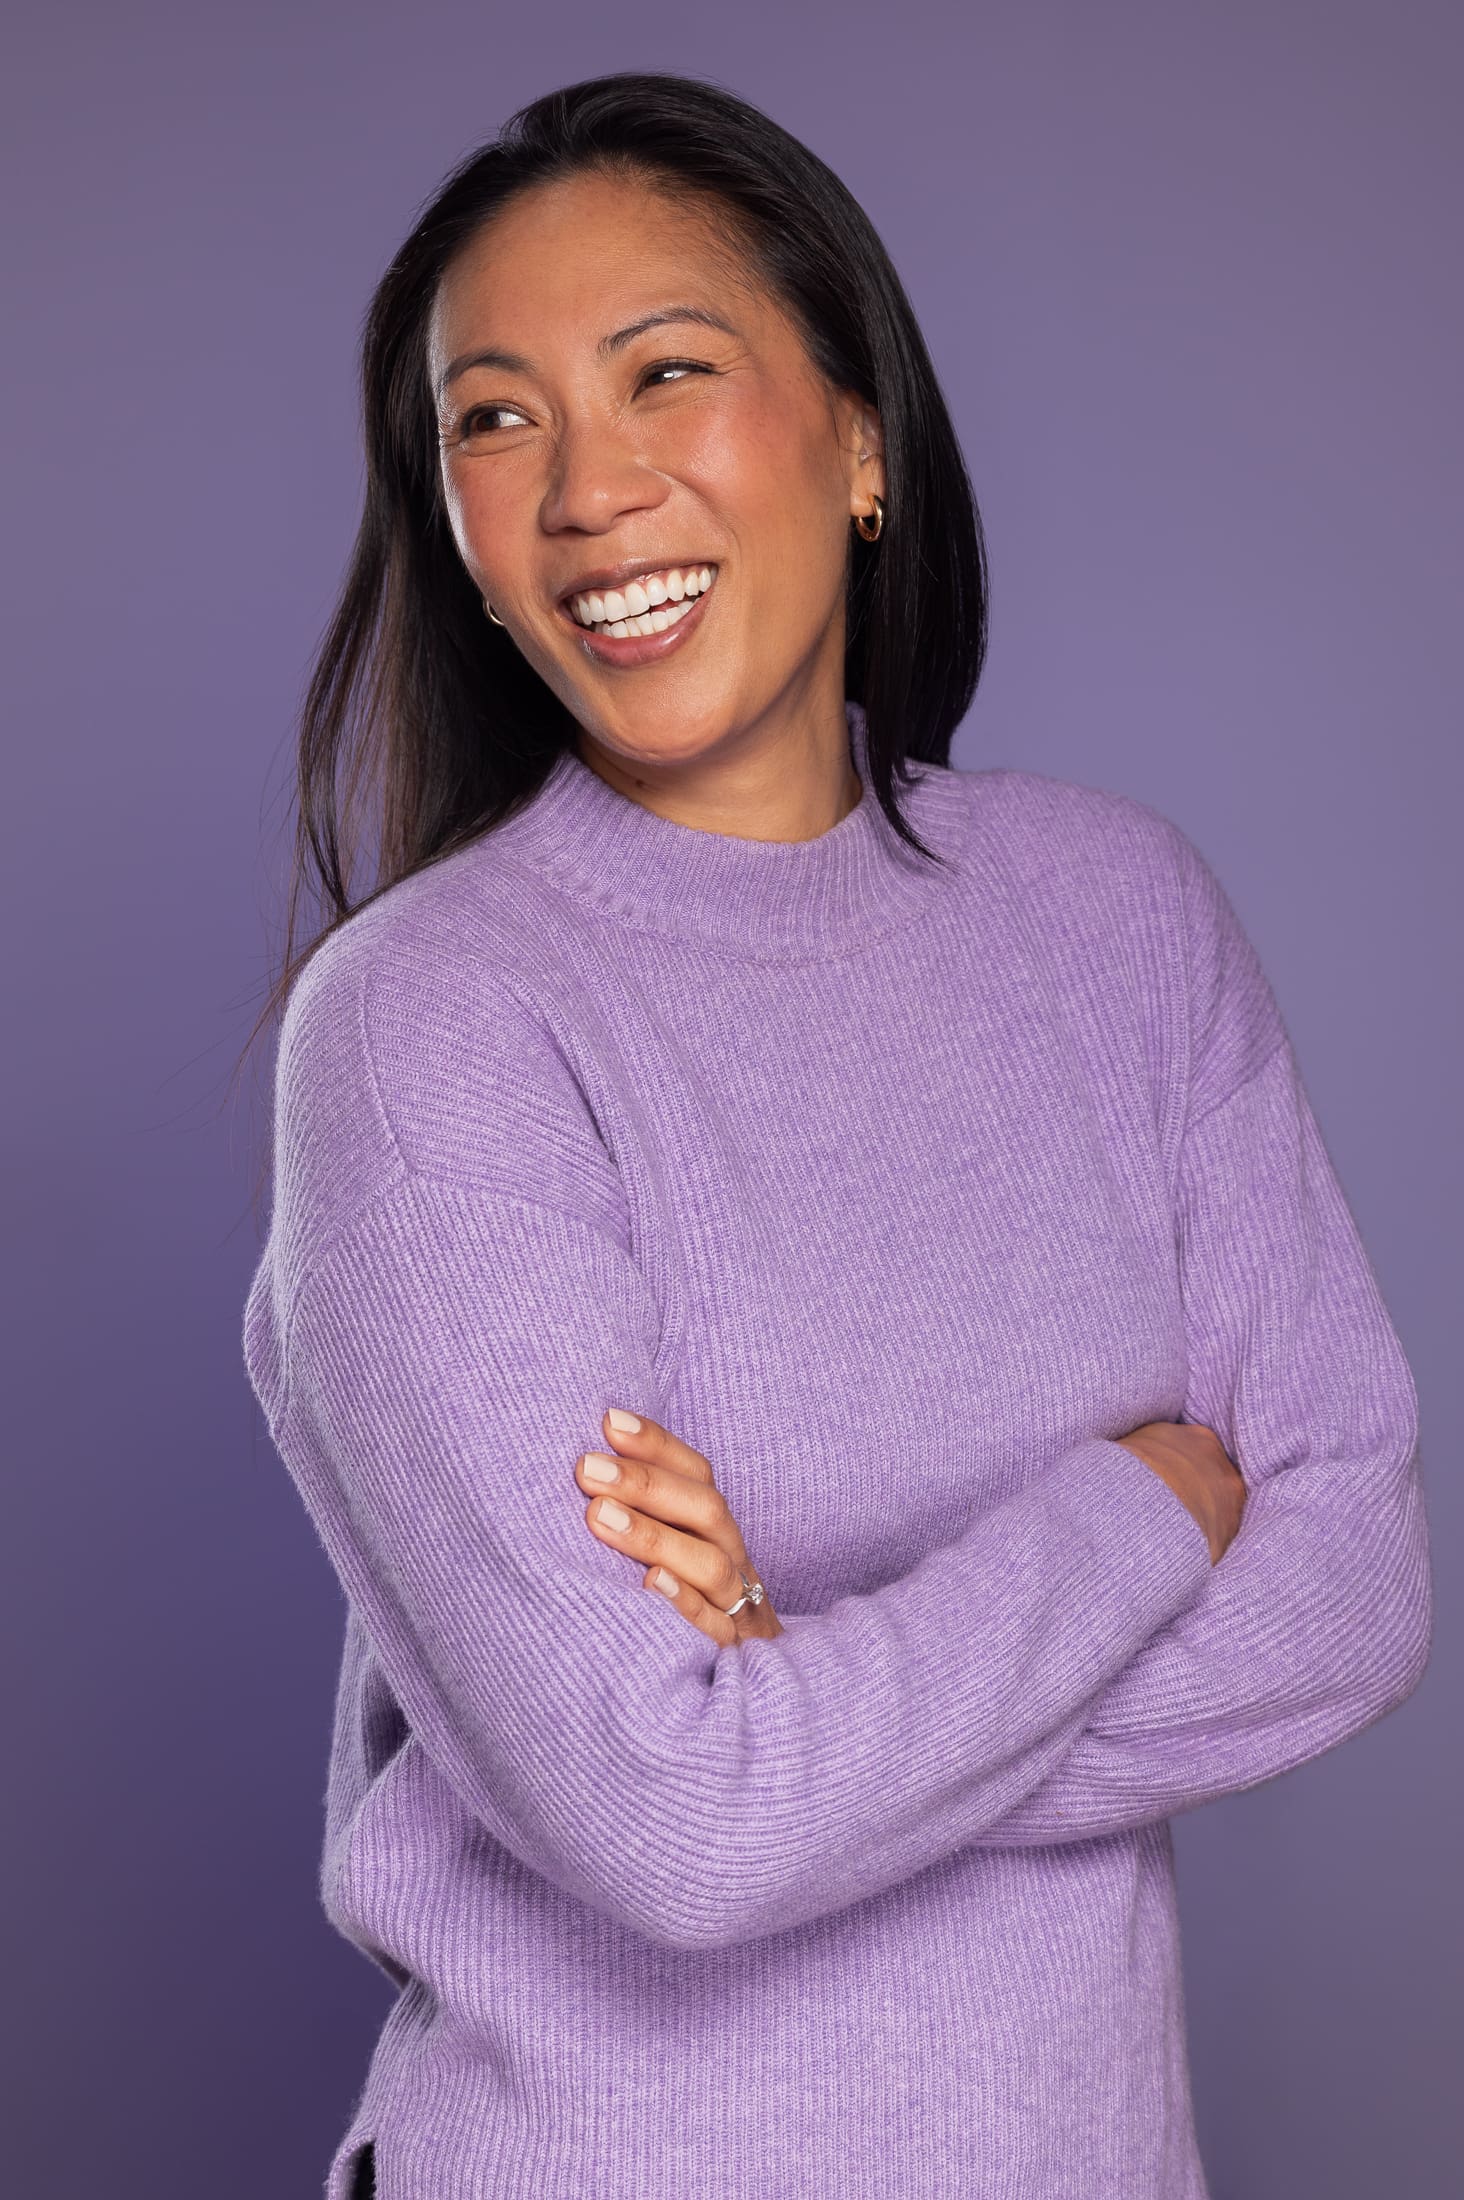
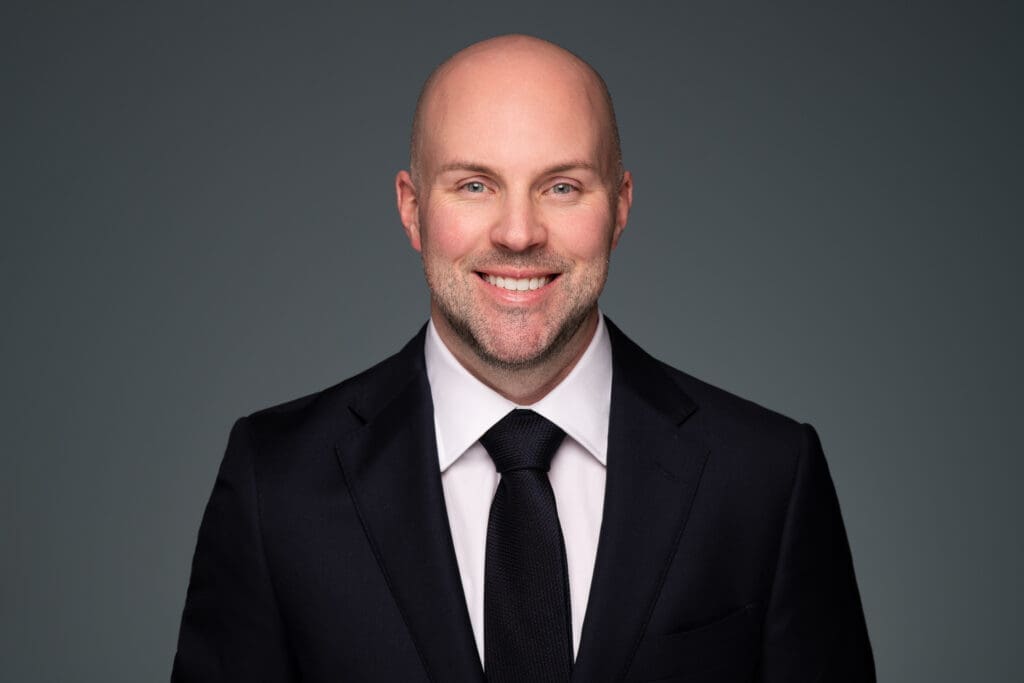
How to take a headshot – 15 tips from a professional headshot photographer.
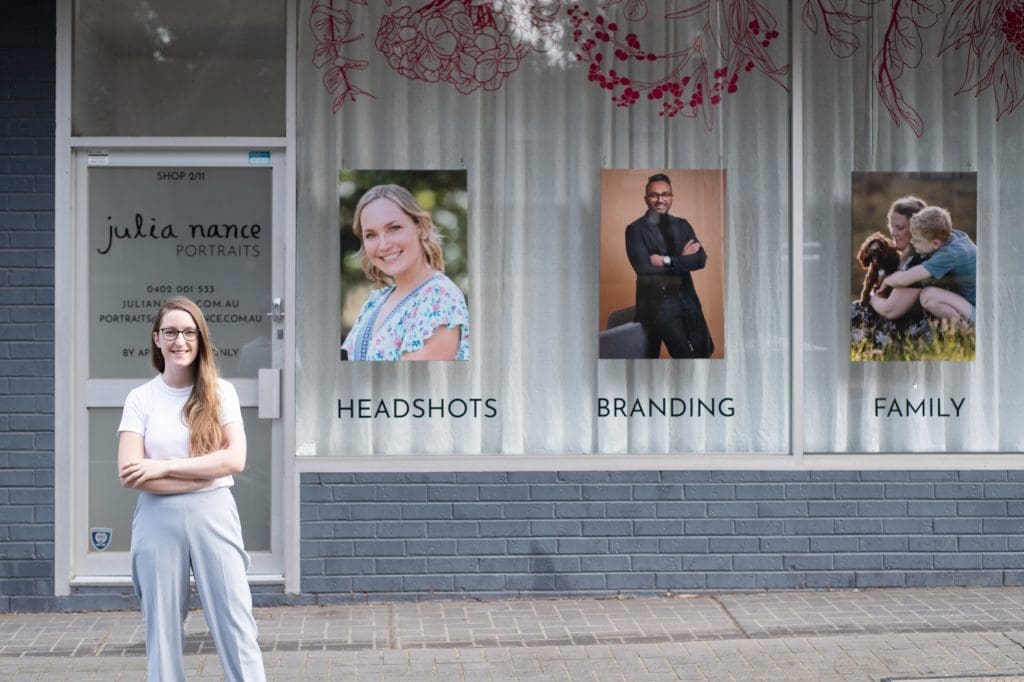
How To Take A Headshot
Tips from a professional headshot photographer
In Melbourne, Covid-19 had most of us in complete lockdown for months. While we were all working from home and staying in isolation, I put together a guide to assist people in capturing an updated headshot. After all, nobody was able to go to a professional headshot photographer!
Since then, this blog post has brought people to my website from all over the world (it’s a little crazy, actually!). So thanks for stopping by. Whether you need to capture something for yourself, or if you’re an amateur photographer looking for tips for an upcoming gig… I hope you can find some helpful tips on this page.
Book A Professional, if you can...
Taking a headshot isn’t always easy – that’s why I always suggest leaving it to a professional. For a truly great result, there’s lots to consider. A professional portrait photographer will take control of all the little necessities to get a great result.
If you’re in Melbourne, you can book your own headshot with me directly online! I offer sessions from simple and quick LinkedIn headshots to half-day branding shoots!
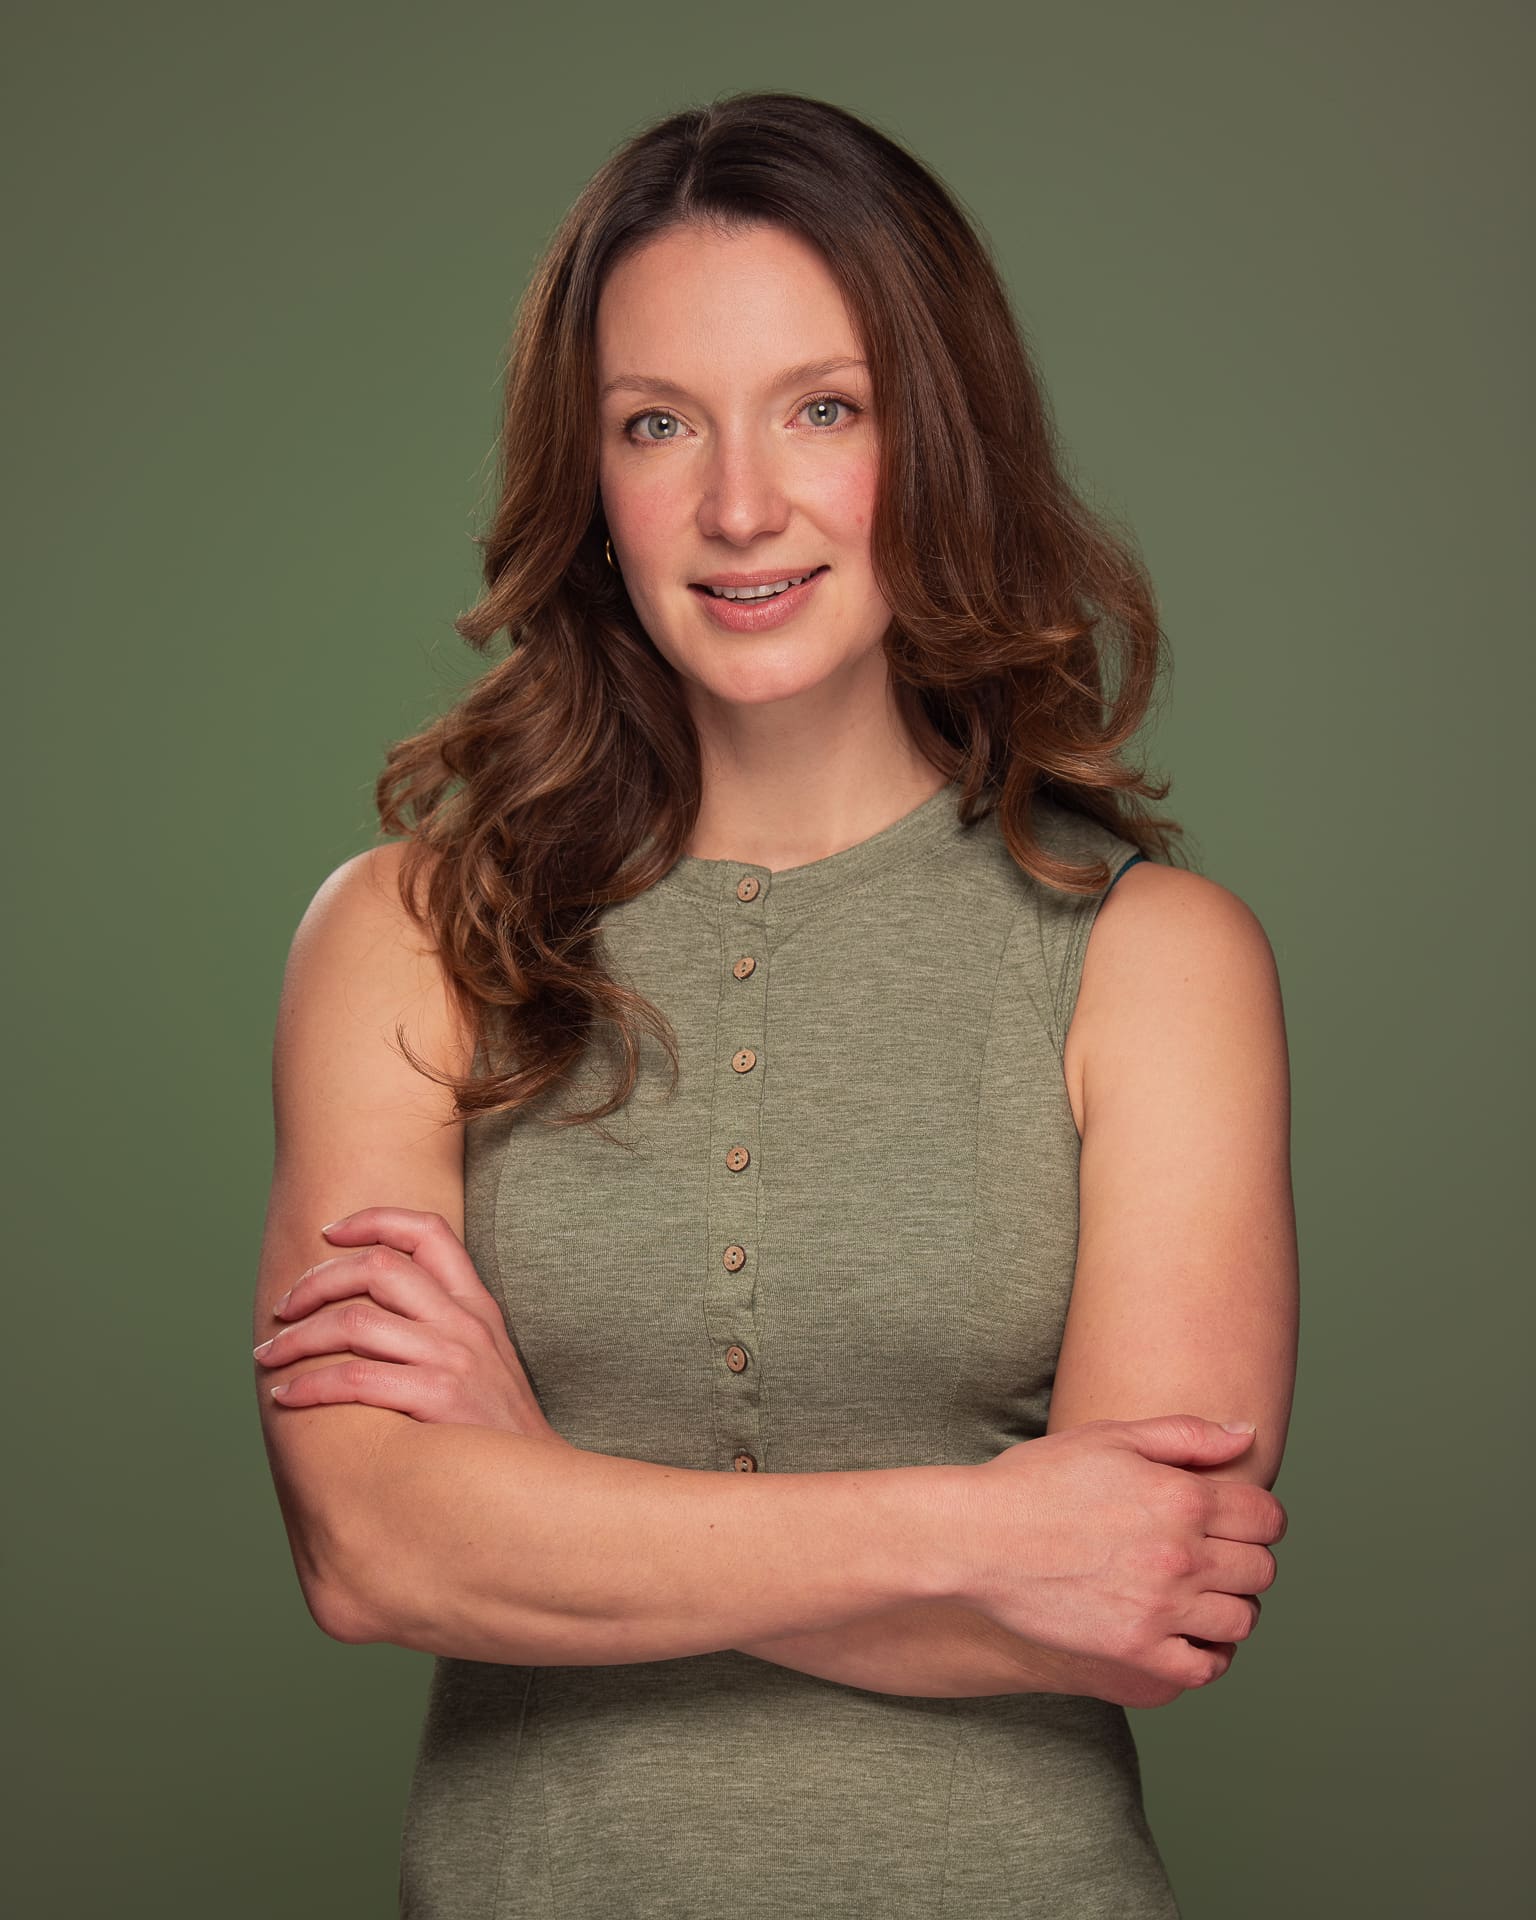
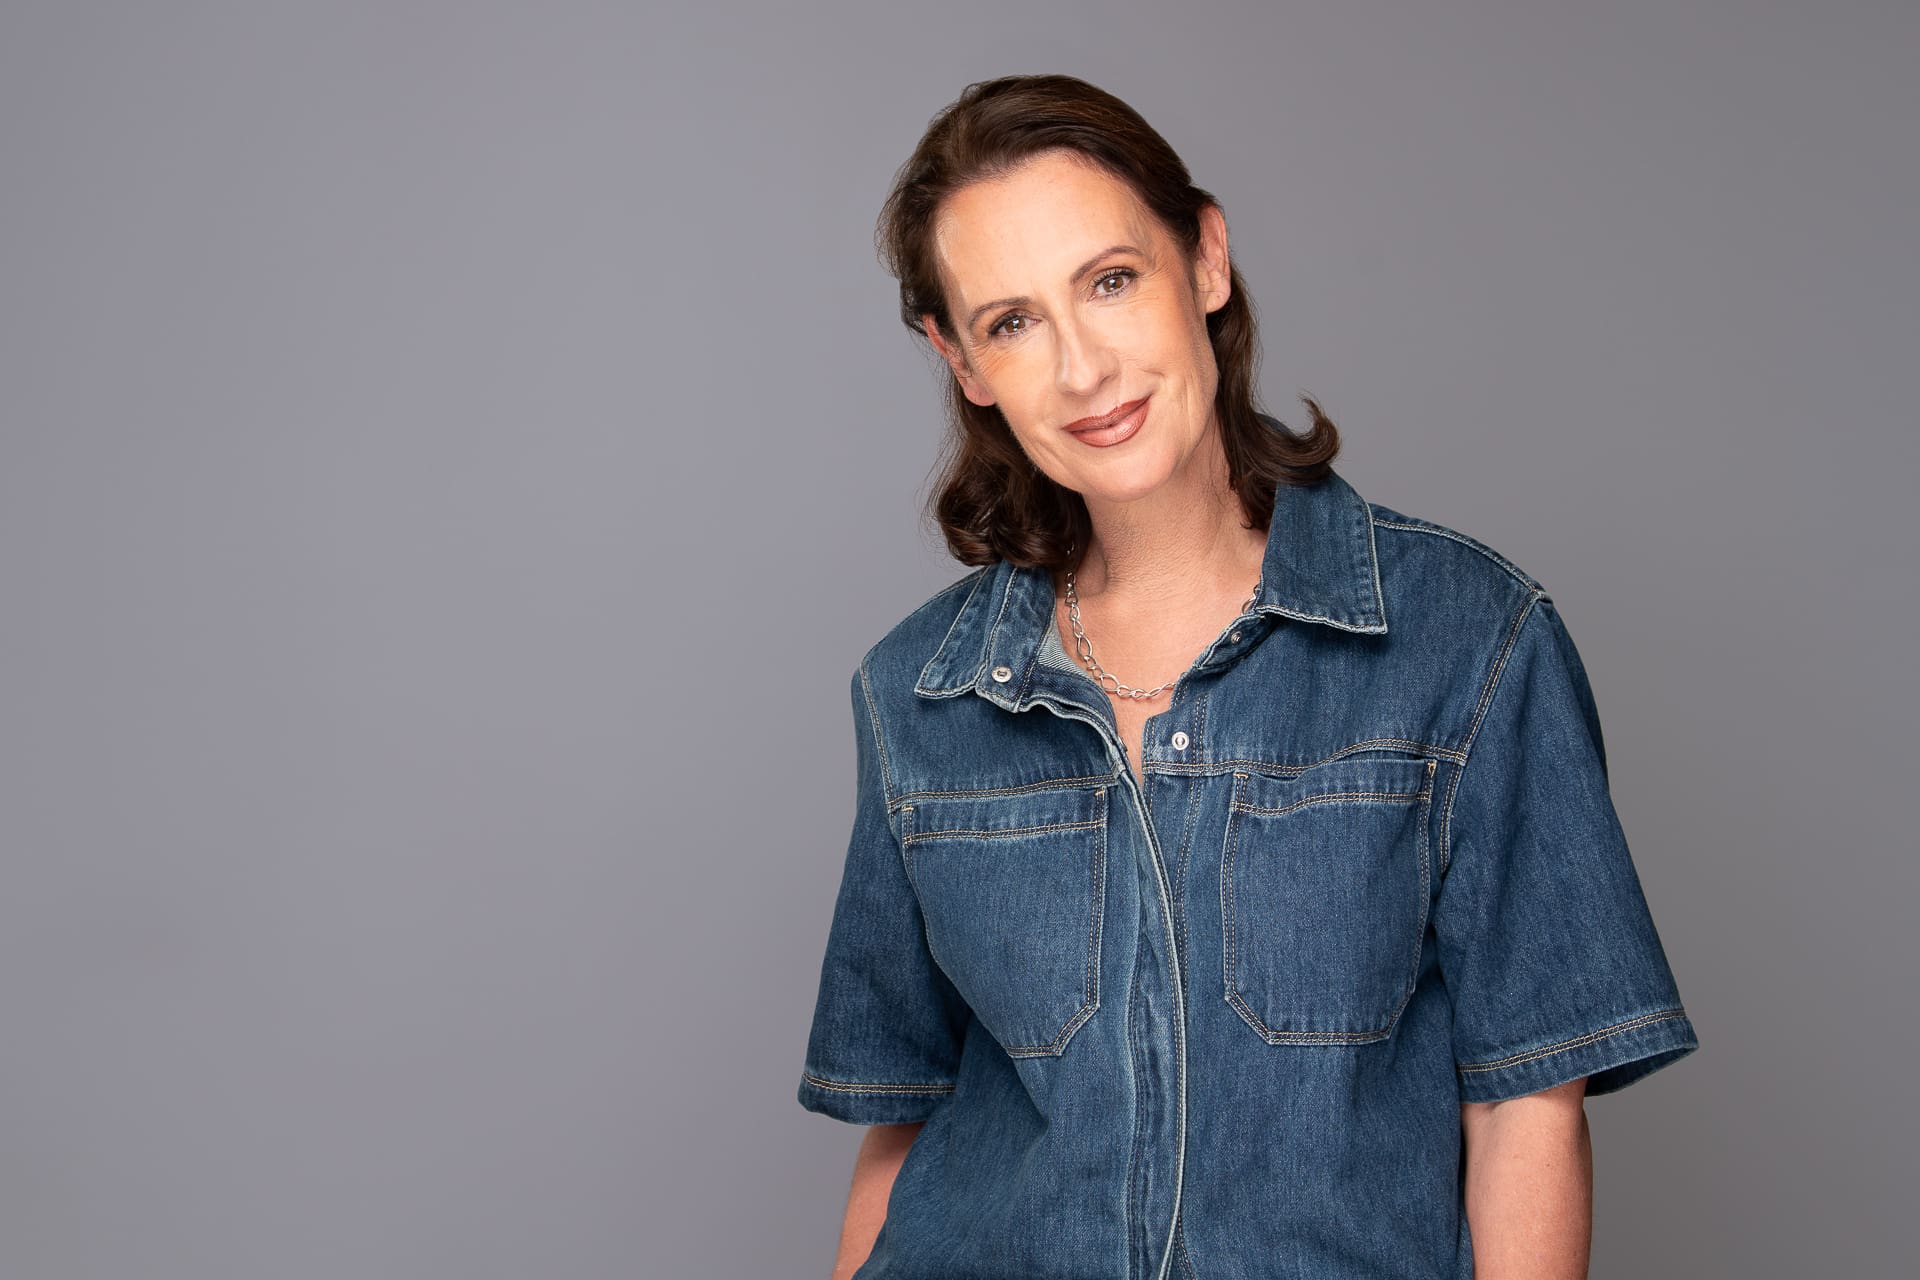
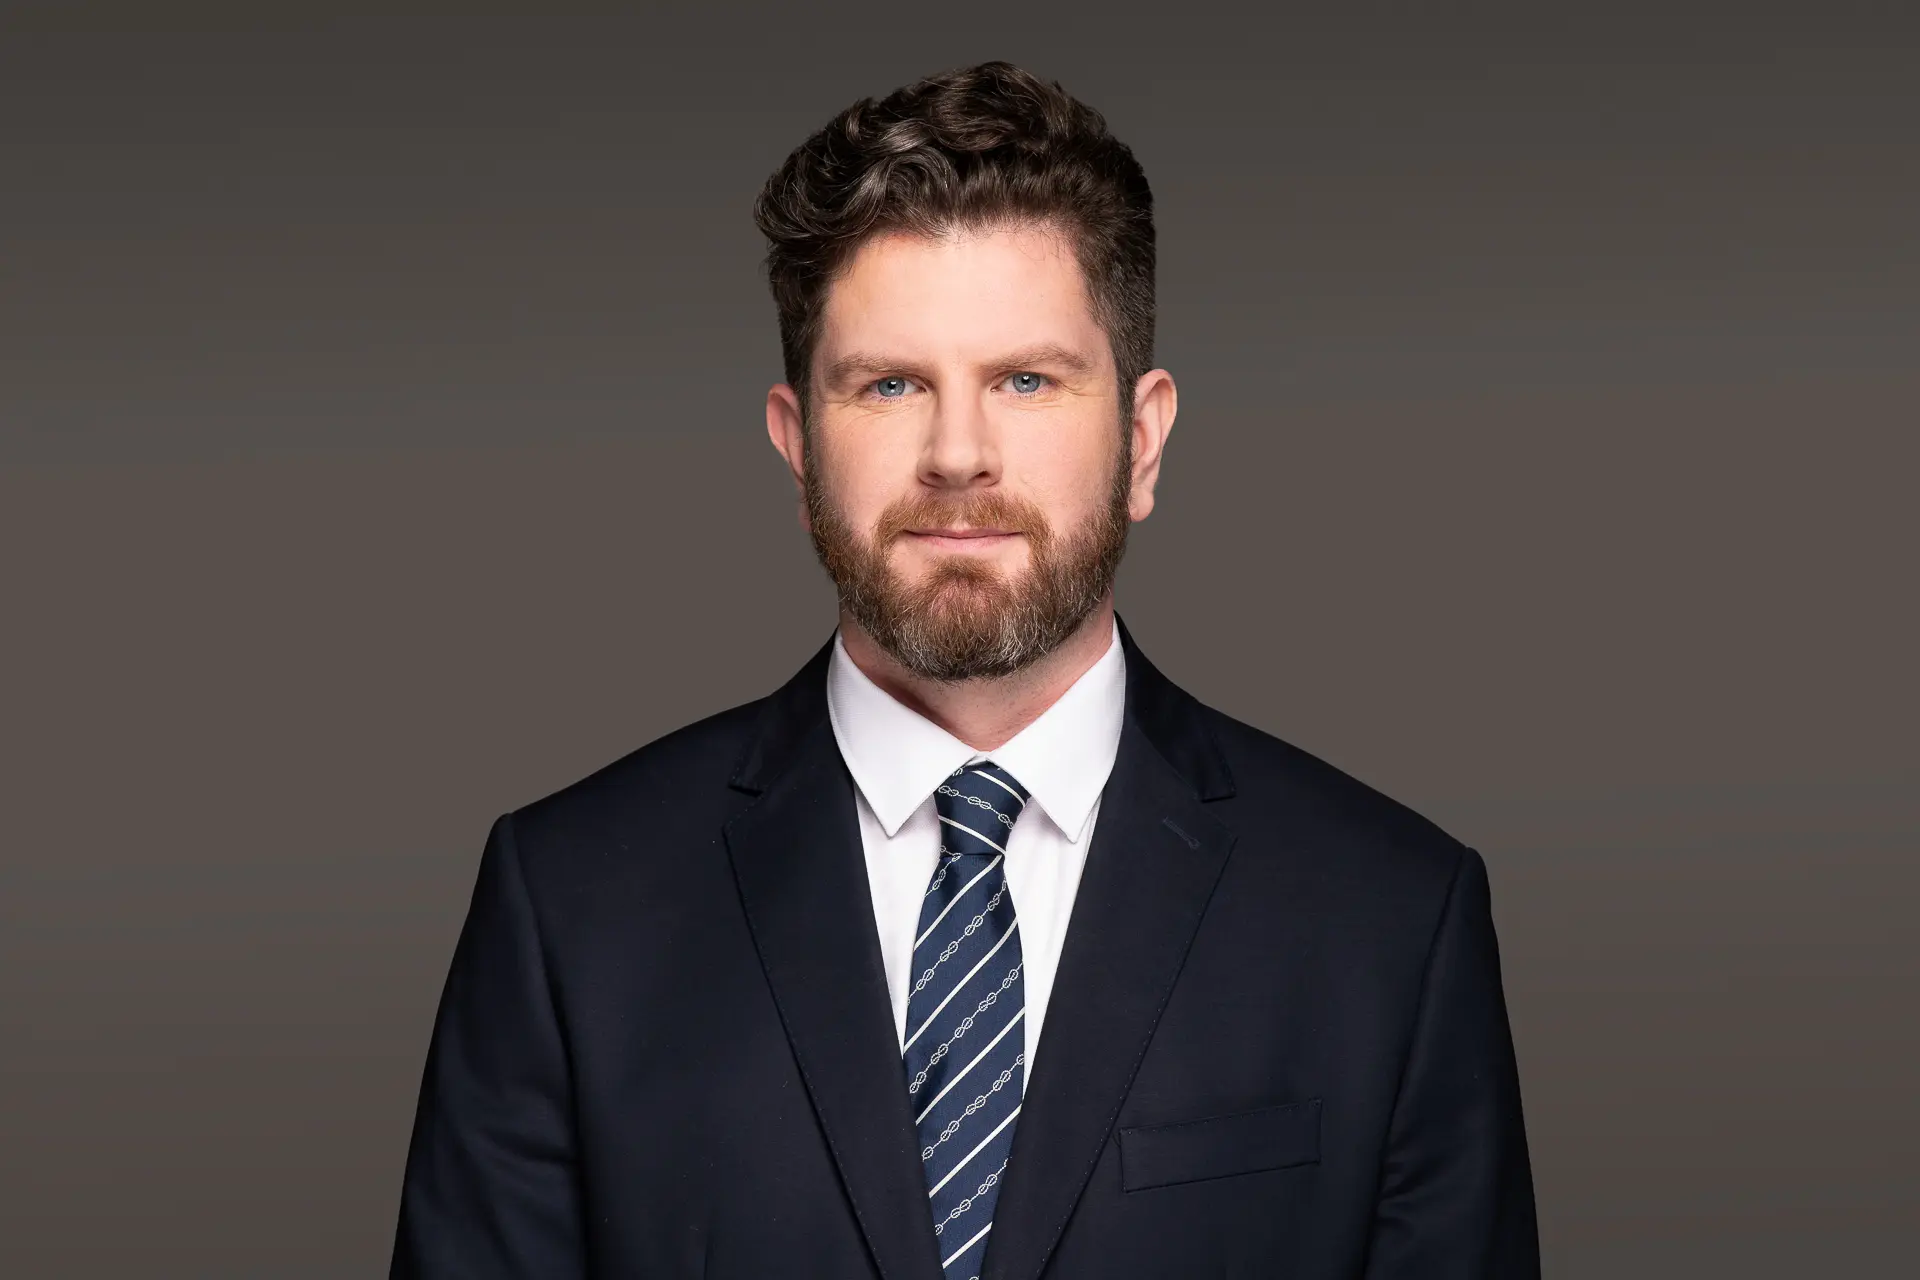
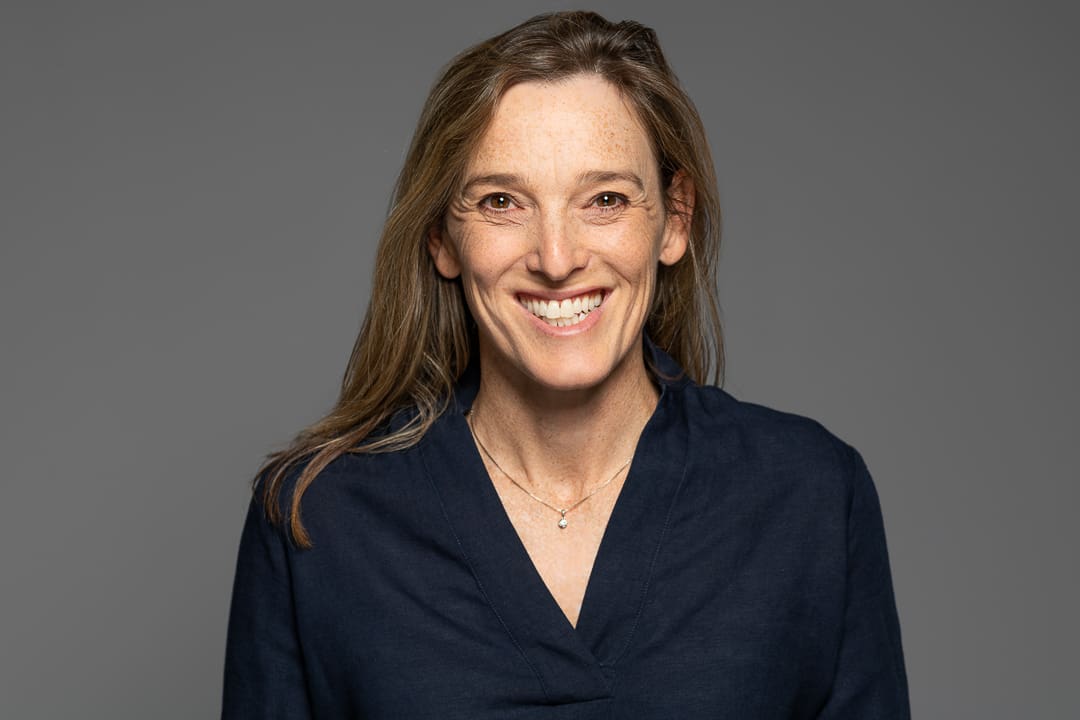
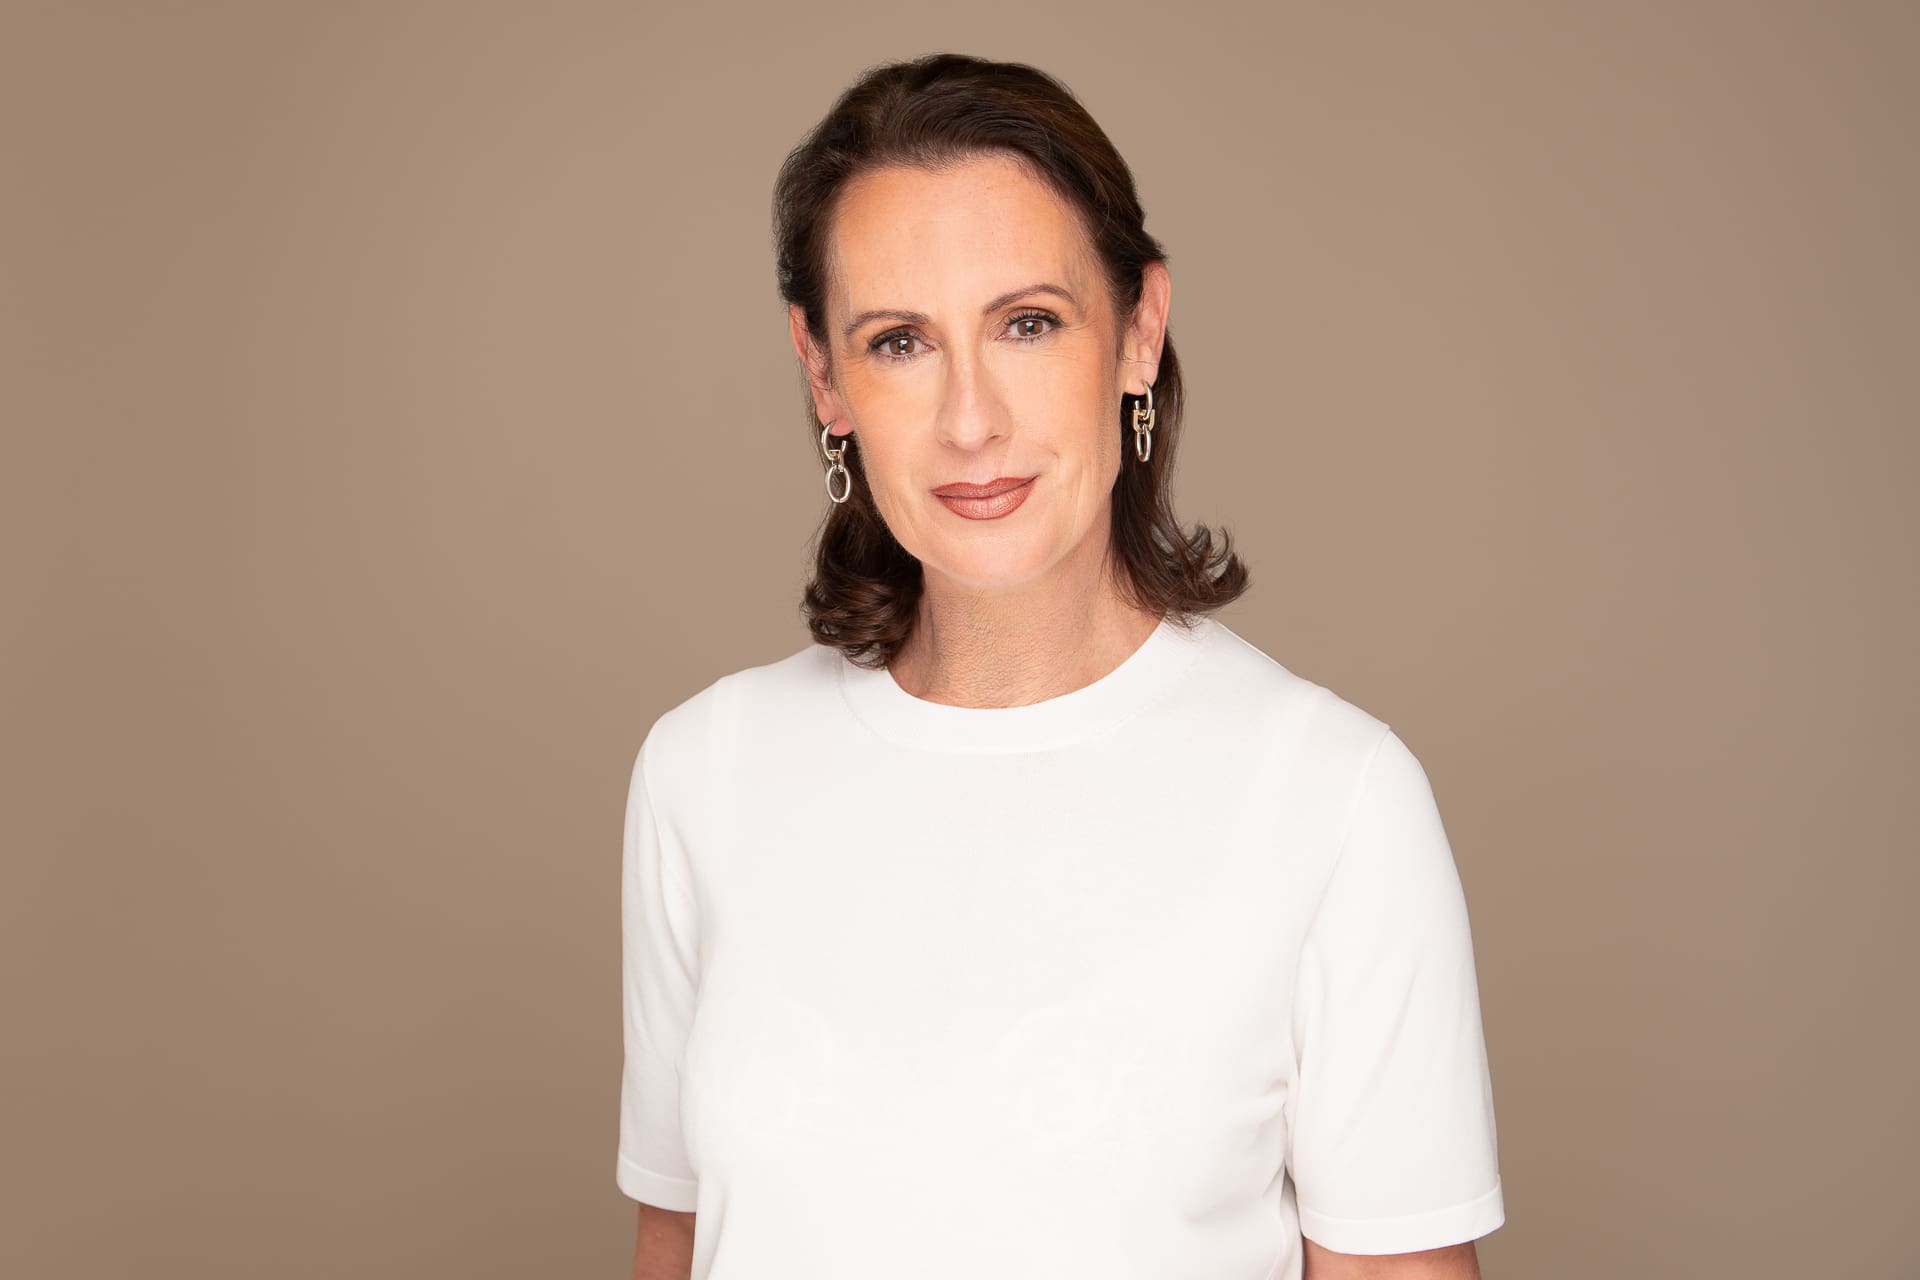
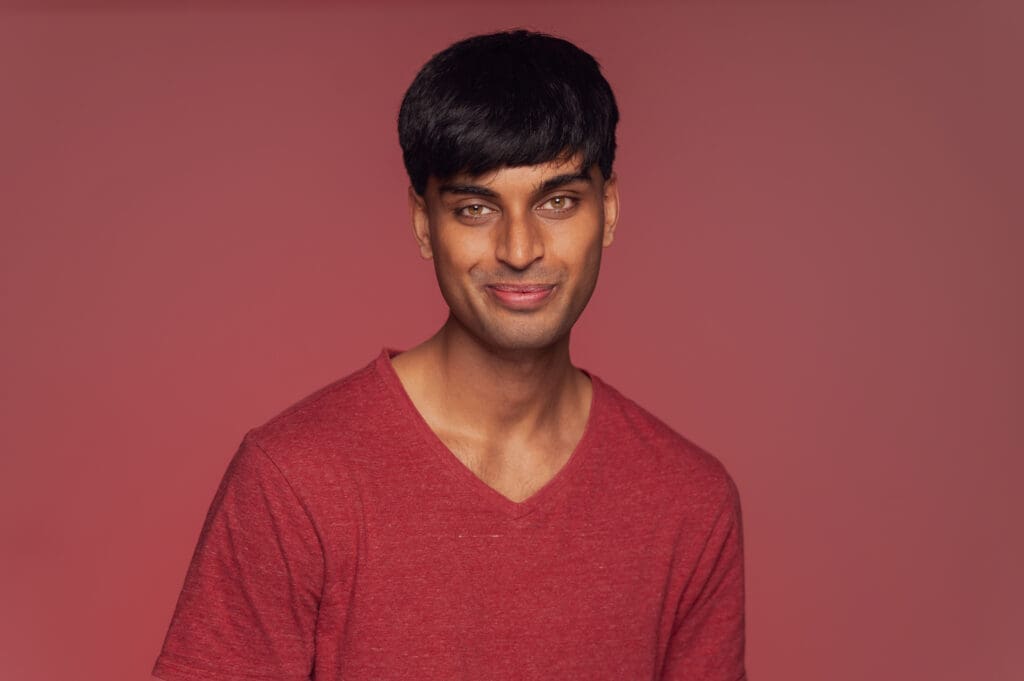
The best headshots show personality, engagement, trust and likeability. This can be difficult to achieve by yourself – so if you’re not in the position to hire a headshot photographer, read on for some of my tips to take your own headshot at home
Why should you use photos of yourself as a part of your personal brand?
I’ve written a few blog posts on the importance of personal branding photography. To summarise, a personal branding portrait shows what it is like to be with, interact with and work with you. Your brand is a visual way to sell yourself, your business and your profession.
It’s important that your brand is represented correctly. Be honest, and be yourself. People do business with those they know, like and trust.
15 tips to taking a headshot at home
These tips are designed for non-professional photographers, with limited access to equipment.
1 - Find A Great Background
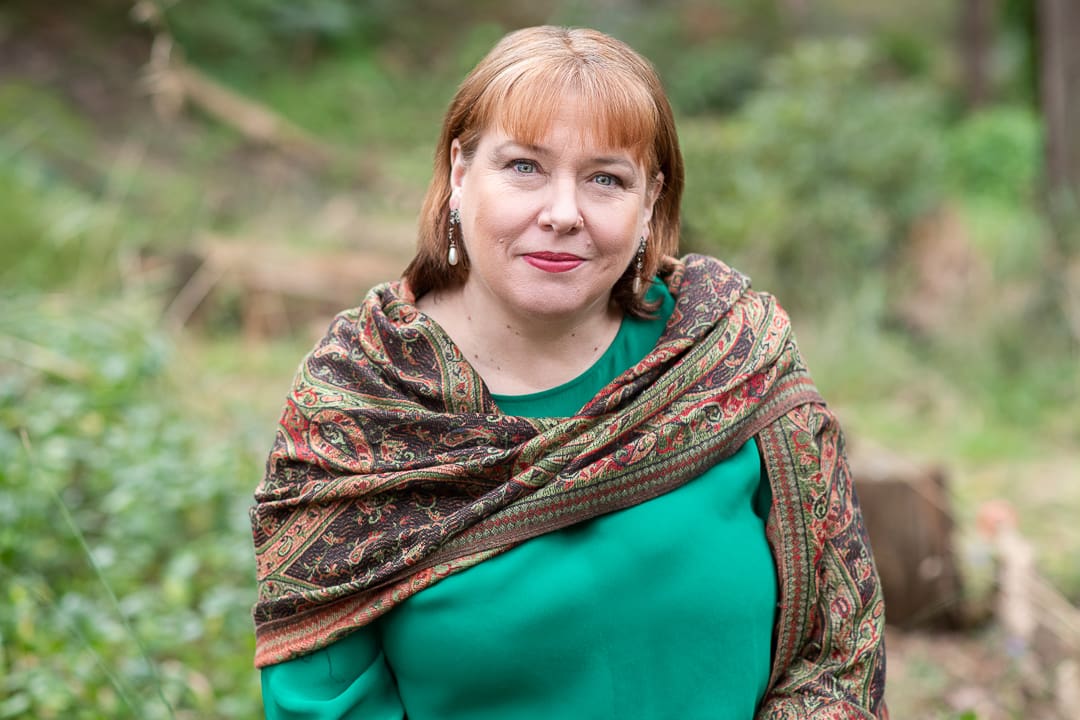
Your background needs to be simple and complement the image (it shouldn’t stand out). Brainstorm what style of image suits your brand, personality and profession.
Here are some ideas:
- A plain light grey or white wall,
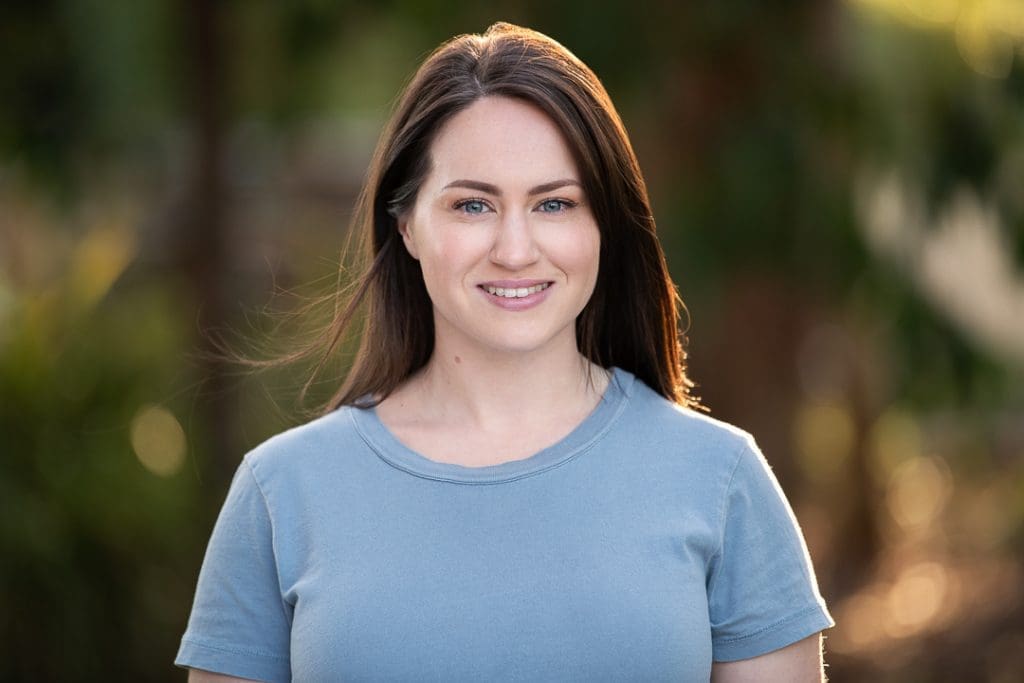
- A green spot in the garden,
- A lifestyle portrait in your home office or living space.
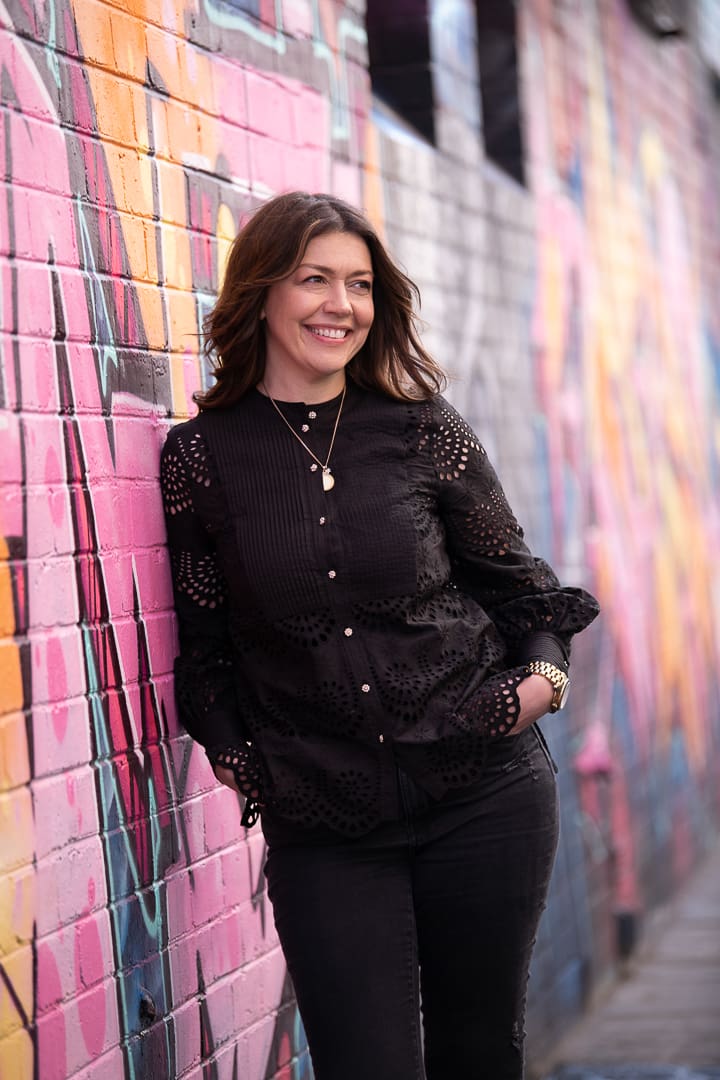
- A colourful mural you pass on your morning walk.
TOP TIP: Blur out your background by using a great lens with a low aperture, or “portrait mode” on your phone.


2- Choose the Right Camera & Settings
Phones:
Use ‘pro’ settings if you can. If you have the feature, ‘Portrait Mode’ might help separate you from the background. It’s great to blur out trees and greenery for a soft effect.
Point and Shoot:
These cameras often use wider lenses, which generally result in a higher depth of field (which means less background blur). Find a background that is simple, such as a plain wall.
DSLR/Mirrorless cameras:
If you have a DSLR, Mirrorless, or another interchangeable lens system, think about your choice of lens. Lenses come in a range from wide-angle (eg 24mm) to telephoto (eg 200mm).
Aim for mid number between 50-200mm on a full-frame sensor for headshots. This ensures minimal distortion of your face and features.


3 - Use Natural light
Natural light makes our skin glow and our eyes bright. Our main goal: get an even spread of light on your face, without any direct sunlight.
How to use natural light indoors:
- Utilise a big window with indirect sunlight. Frosted glass is great, as it softens.
- Face towards the window to get as much light on you as you can.
How to use natural light outdoors:
- Stand/sit in a shady area. No sunlight should be hitting any part of your face.
- If it is sunny, make sure any harsh sunlight is coming from behind you.
4 - If You Have To, Use Artificial Light...
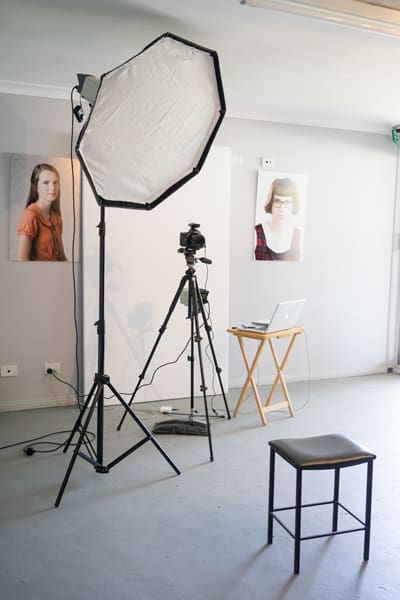
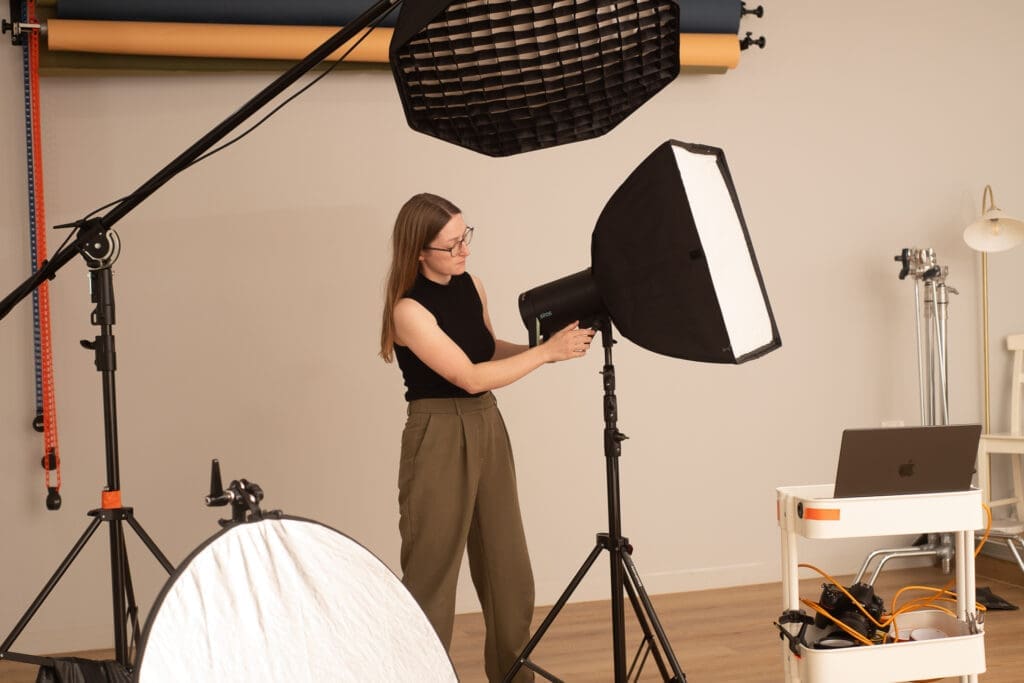
I generally leaving artificial lighting to professionals, or those who have a little more training/experience.
It can be challenging to look natural and flattering if you don’t have the right techniques and equipment. However, if you’re stuck in a pickle or your favourite background is in a dull spot, here are some quick lighting tips.
- Create as much light as you can. Dull light often gives dark and blurry results.
- Point your light source at the wall/ceiling/white object away from your subject for a softer effect (this is called bounced light).
- Use “reflectors” (such as whiteboards, white walls, white card) to bounce light and fill shadows.
5 - Consider The Direction Of Your Light.
Light direction is really important. Try to make sure your light source is aboveyour face as much possible. Your face should be evenly lit and your eyes nice and bright. We don’t want the light underneath, shining upwards.
This is easy with natural light, as there is so much of it and our light source (the sun and sky) is always above us.
Try to find an open space (in the shade or with the sun behind you), to get as much even and soft light as you can. Avoid 11am-2pm (in Australia at least). Morning and afternoon light tends to be more flattering.
6 - Choosing Your Outfit
If you’re really stuck on outfits, I’ve written a whole article full of tips on what to wear for a headshot session.
To keep it simple, wear what you might wear if meeting a client or attending a professional meeting or job interview. Stay true to yourself and consider using colours that compliment your eye colour, skintone and hair colour.


7- Keep Accessories Simple
Keep them simple and small. If wearing jewellery, make sure it doesn’t distract from you. And if it is bold, make sure that ties in well with your brand and is suitable for your industry.


8- Nail The Camera height
Set your camera up to be slightly above you or at eye level.
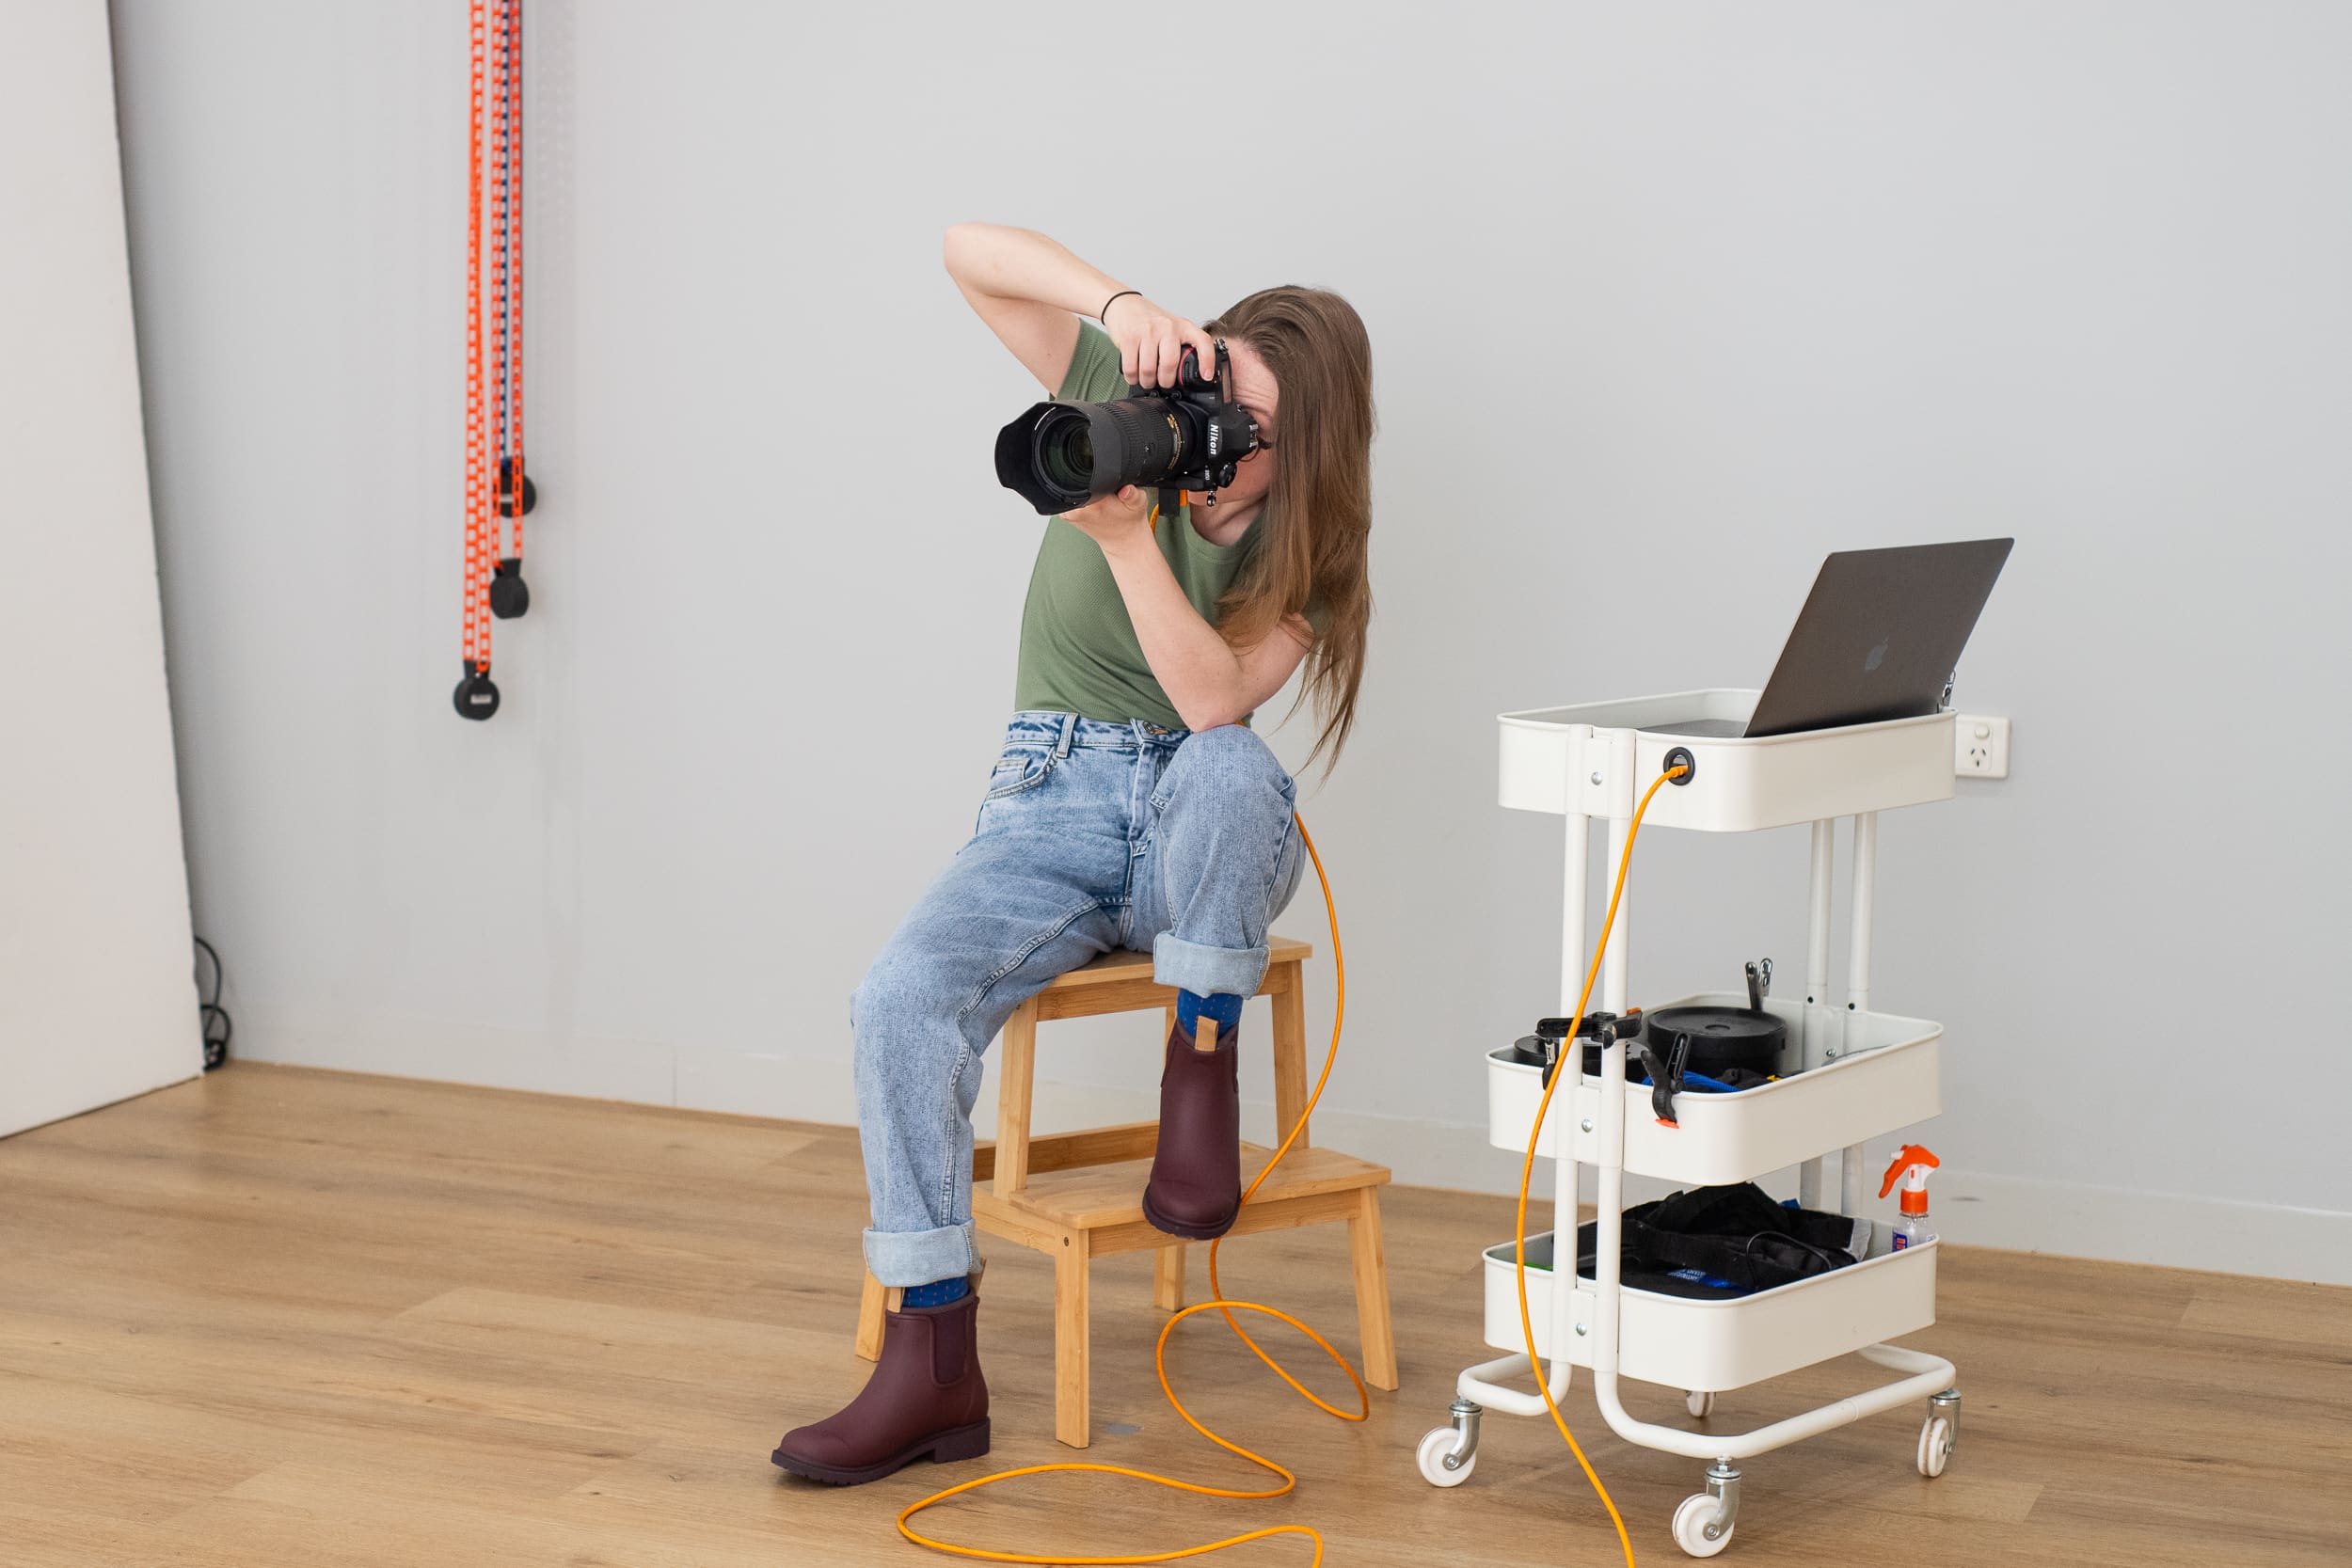
9 - Use a Tripod (or a family member)
It is absolutely essential that you do not have your ‘selfie arm’ in your photo. Use a tripod, rest your camera on an appropriate surface, or use a friend, colleauge or family member to help you take your shots.
10 - Focus on your eyes
Your eyes are arguably the most important part of your headshot. They’re often the first thing we look at when we look at a portrait of someone.
Ensure your eyes are…
- Well lit, so we can see them, and they aren’t in shadow. You want to get the lovely colour of your iris coming through.
- Sharp and in focus.
- Engaged with the camera (showcase your emotion, don’t stare blankly).
11 - Try Different Poses
Here are a few simple headshot tips you can try to nail the pose.
- Lean slightly towards the camera.
- Try different angles with your shoulders, chin and the tilt of your head.
- Push your chin forward and down to minimise double chins.


12 - Get The Right Expression
You want to look genuine, not cheesy. It’s easiest to have someone there to prompt you for real expressions and this is one of the biggest benefits to hiring a professional headshot photographer).
It’s much harder if you have to wait for a self timer. But if you do, try and think about real emotions, funny moments, and things that make you happy. If waiting on a self-timer, pull your smile at the last second before the camera fires.
Top Tips:
- Experiment smiling with and without teeth, and try some serious expressions too.
- Make your eyes look engaged and alive. Soften them with a slight squint (“Smile with your eyes”).
- Have fun, be silly, pull faces, and laugh as you go.


13 - Tidy The Image With A Neat Crop
Get rid of space that doesn’t add anything to your photo. You can often crop in free software on your phone or computer. Other apps like Canva allow you to design graphics, posters and social media content quickly and easily.
For headshots (like on LinkedIn), stick to head and shoulders so people can really see who you are.
14 - Finishing Touches With Editing
If you’re not experienced, I recommend you don’t do much editing on your headshots.
Stick with basic adjustments: cropping, brightness, colour (adding some saturation or toning if required – but don’t push it!), and contrast (only if it needs it).
Avoid fake, skin blurring filters. Nobody needs that!
You can always reach out to a professional retoucher to ask for their assistance with editing. I do this type of work too! Contact me here for a quote.
15 - How To Export & Upload
If you’re planning on using your images on your website or social media, you will want to resize them down so they’re suitable for web-upload. You can search the web for free image resizing tools.
I suggest scaling the longest edge of the image down to 1000 – 1290 pixels, and using a PPI of 72.
You can use programs like JPG-Mini (premium) or Tiny JPG (has a free version) to compress your images even further too.
Want to stick to the pros? Book in with a professional headshot photographer.
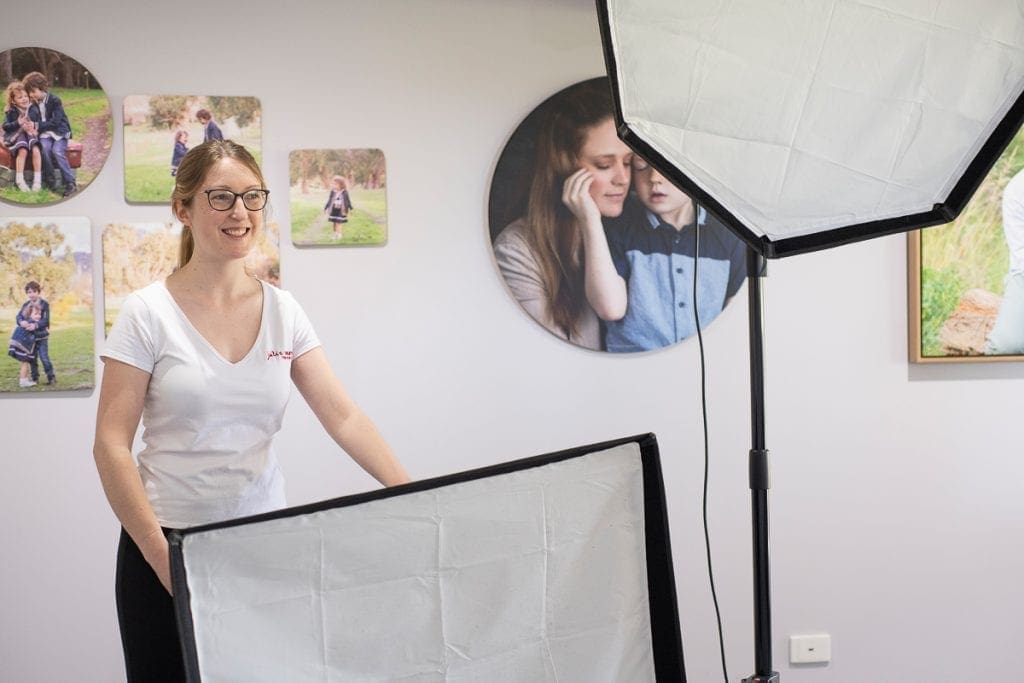
There are a lot of things to consider to get a great image. Professional photographers who specialise in headshots and branding know all of the considerations and techniques to get great images of you.
If you can, always budget for a professional photographer. It’s well worth the money, and it will do yourself and your brand more justice.
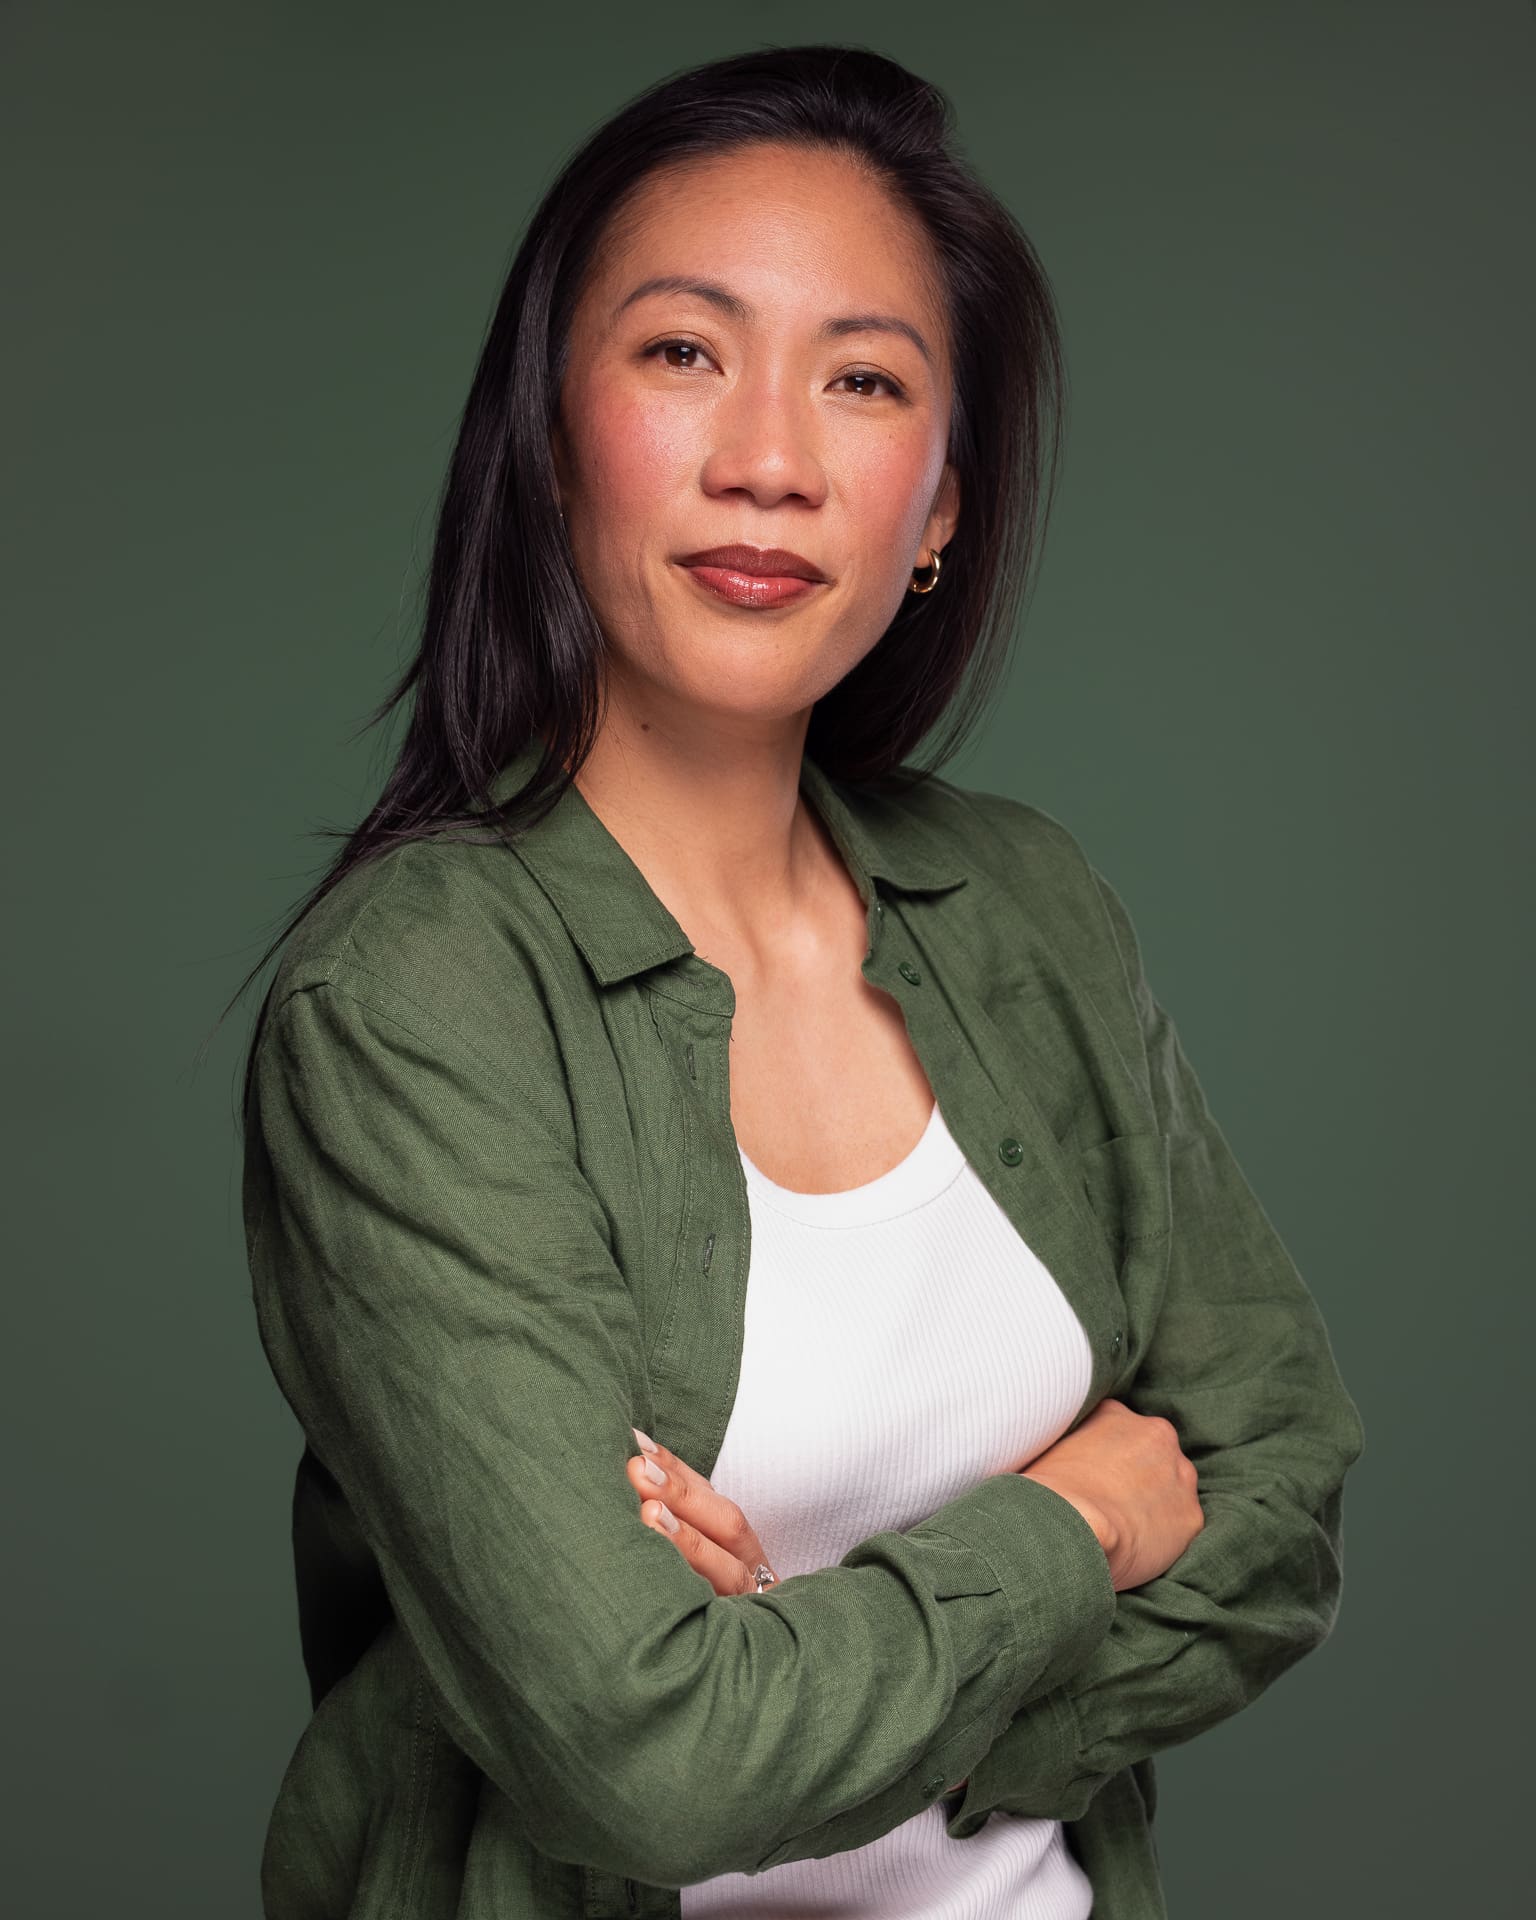
Plus, the general public can tell when you have skipped a professional. Have a read of my article: Selfies Vs Professional Headshots.
A quick search in your local area will bring up lots of professional options. Find a photographer whose style you love and who you can trust to bring out the best in you.
Published by
Julia Nance
Comments are closed.
Staff Headshots | Corporate Headshots | LinkedIn Headshots |
About | Contact | Studio | FAQs | Ts&Cs | Privacy Policy