My Headshot Retouching Style

Retouching is an important part of my process. I think retouching in general has a bit of a bad reputation. When people think about retouching, many jump to the conclusion of airbrushed skin, blurred features, liquified bodies, picture-perfect and unrealistic perfection. But this isn’t always the case, and it certainly isn’t in my retouching process.
I thought I would take you through photo retouching, and the difference between a ‘retouched’ and ‘enhanced’ edit. I want to show you my style, the level of detail that goes into my headshot work, and why I edit the way I do. It is important for me to keep things looking natural. It is all about texture! The mission: to keep you looking like you on your best day.
The reasons behind retouching:
Why do I retouch my images? Firstly, it is all a part of my style. I like my images to look clean and highly polished. But mostly, my job is to capture you. The camera itself picks up an extraordinary amount of detail. It records everything, frozen in time. We see ourselves and each other all the time, moving, interacting. It is these subtle movements and interactions that form our impressions of a person.
So I retouch images to capture the person I see in person. Removing little imperfections that I would never have noticed in person, or that have turned up on the day of the shoot (and aren’t there usually). This is the base of what I do. Touching up photographs to shine the best light on you. This means subtle things like lightening up under your eyes, or removing a few darker spots here and there.

Looking at the details:
I’m not about de-aging people. Nor do I create fake or plastic looking people. So let’s have a look at some of the details. Here are some 100% crops of various final fully-retouched images. The detail in the skin is the main thing here (click to enlarge).
Texture exists:
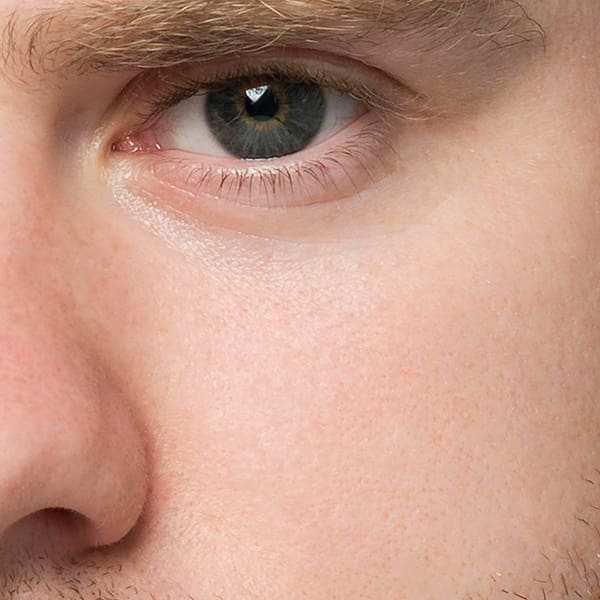
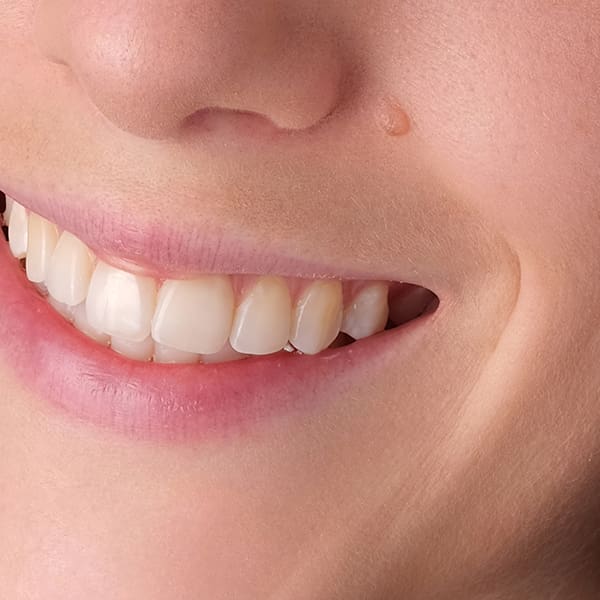

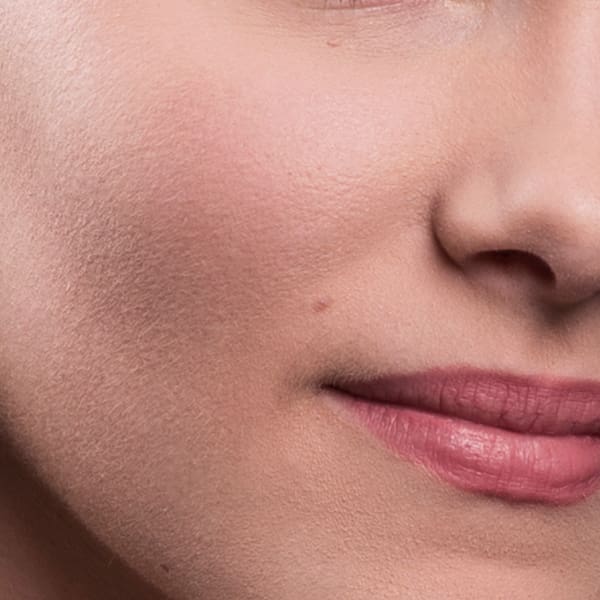
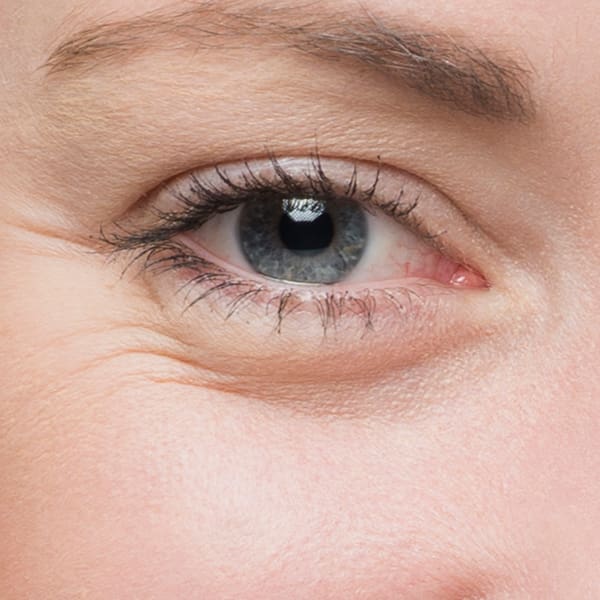
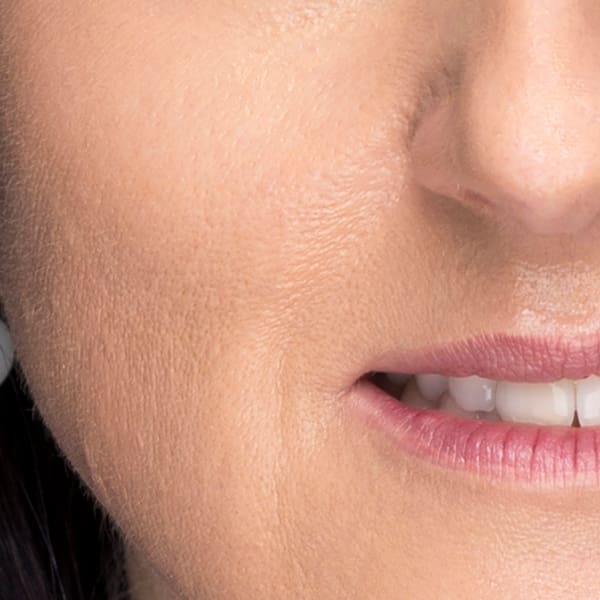
You can see in these images that the skin still looks realistic. I don’t remove all the lines and wrinkles. Mostly it is little adjustments in the transitions of tones in the skin that I tweak. It could be brightening up under the eyes, reducing shine, removing blemishes. But the important part is to ensure that natural texture remains.
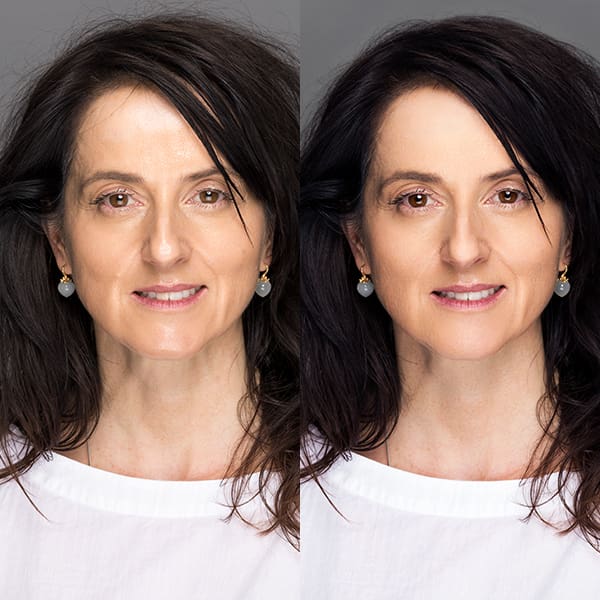
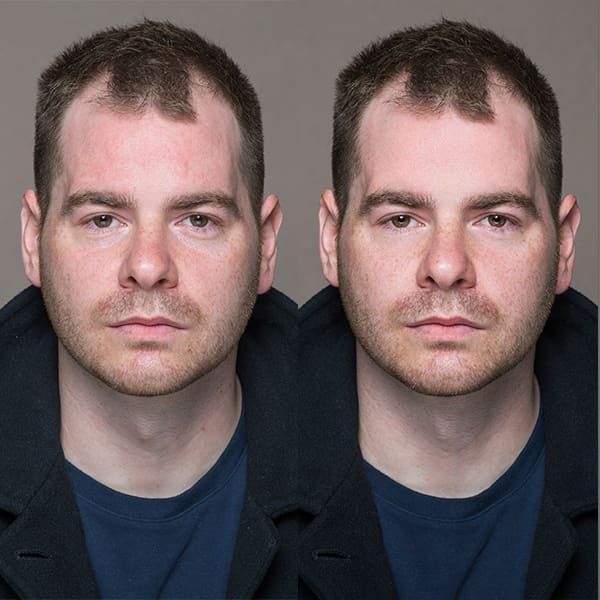
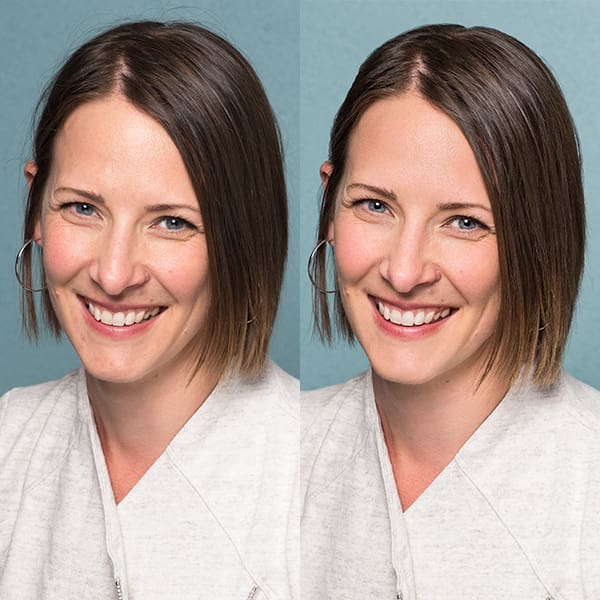
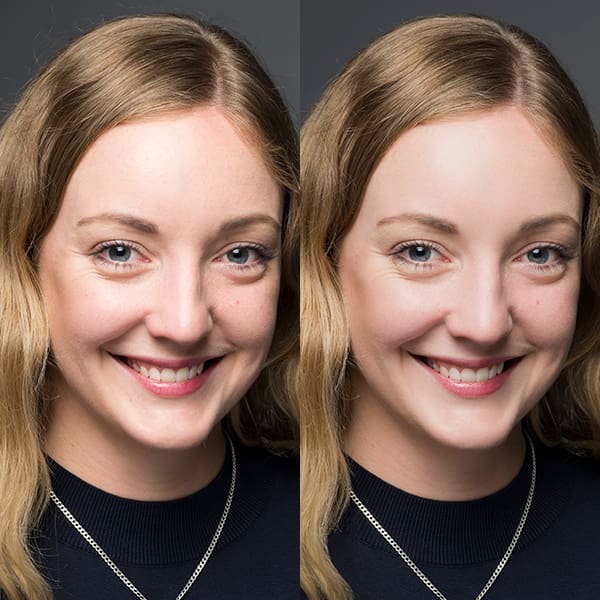
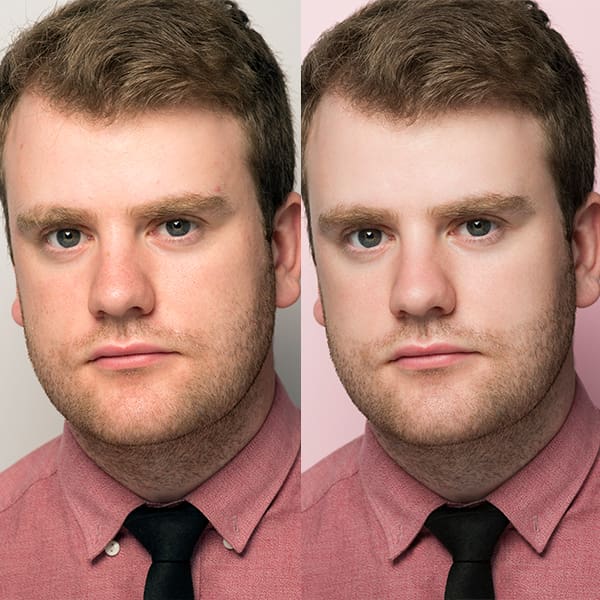
So let’s look at some before and after images too. Have a look at the more specific areas of focus for each image in the caption:

This isn’t a particularly quick process for me. It isn’t a filter effect that I can apply to every image.
The process involves me adjusting the fine details within highlights and shadows to even up transitions in the skin and create a balanced image. It involves cloning and healing imperfections too (like stray hairs that may have come over your face during the shoot). I also do a little bit of eye brightening, to create some more life – but nothing crazy! Then there are the global adjustments. Tweaking the contrast and final colours, adding a vignette if it fits, and converting to black and white if necessary.
Have a quick look at this video of my headshot retouching:
Fully Retouched vs Enhanced:
You’ll notice across my corporate and personal branding packages that I there is a difference between the final images that are included. For my personal branding sessions, I offer more images in the package, and those images are ‘enhanced’, not fully retouched (the corporate headshots are fully retouched).
Due to the nature of my retouching techniques, each image usually takes between 30 minutes to one hour to complete, sometimes longer – it is all dependent on the image. So my personal branding sessions go less into the fine details, and work on creating strong, cohesive images.
This works well, because most personal branding sessions are shot further away, and have a range of poses/actions that are explored. The details aren’t as visible in these images. There is less pixels to work with for all the fine details of my headshot work. I’ll still remove any pressing imperfections (like blemishes, hair over the face, dry skin etc), and the images themselves all fit together cohesively.
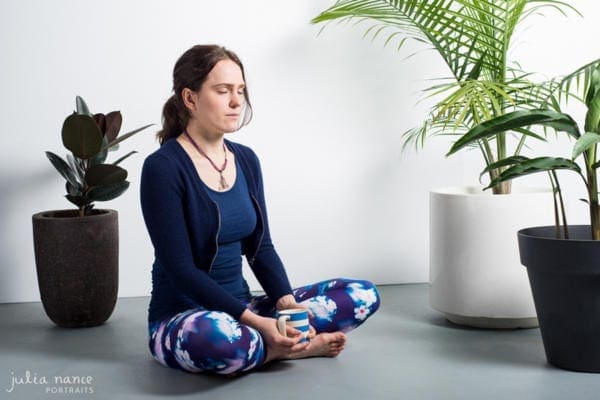
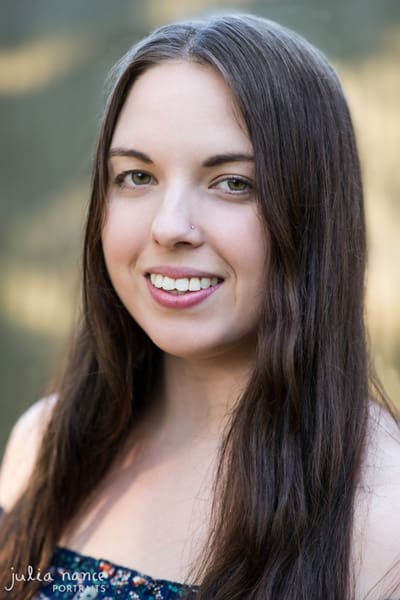
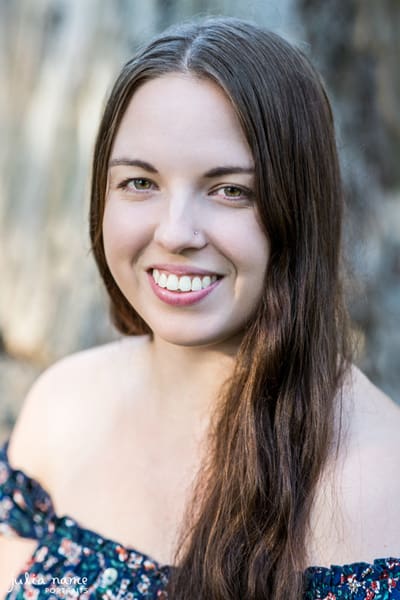
Let’s look at some examples of enhanced vs fully retouched:
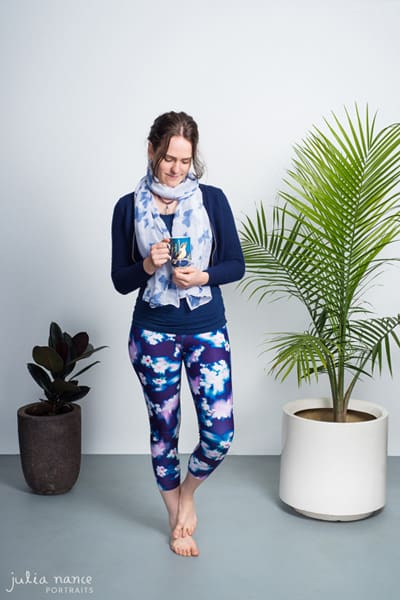

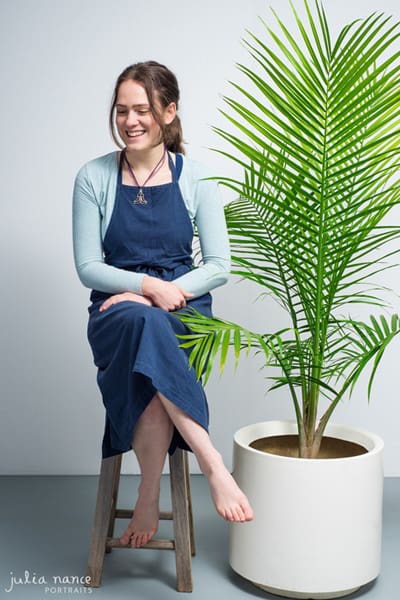
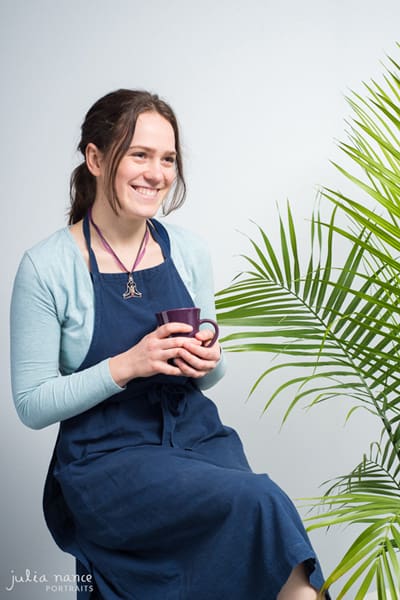
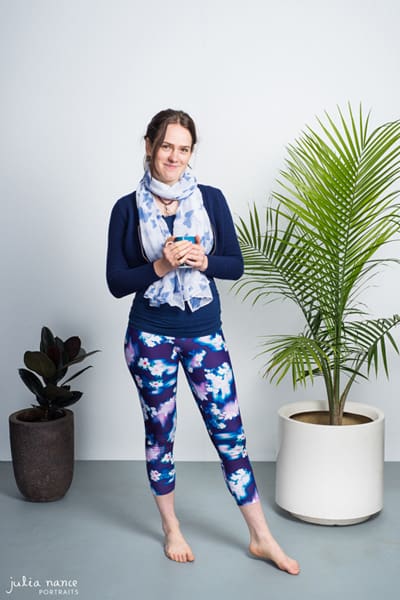
The images above were from a personal branding session. They have all been enhanced – edited with a cohesive style, looking at global adjustments, colour, contrast and brightness, as well as minor imperfections fixed up.
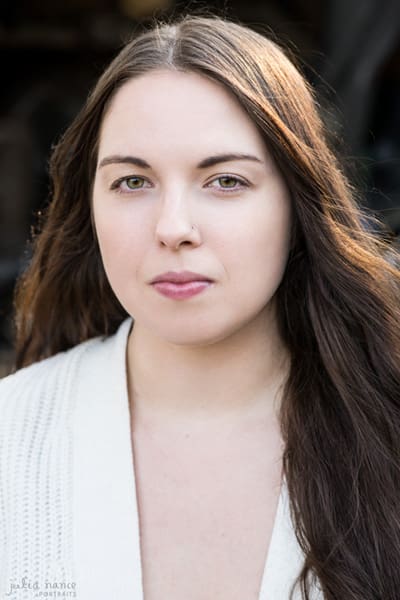
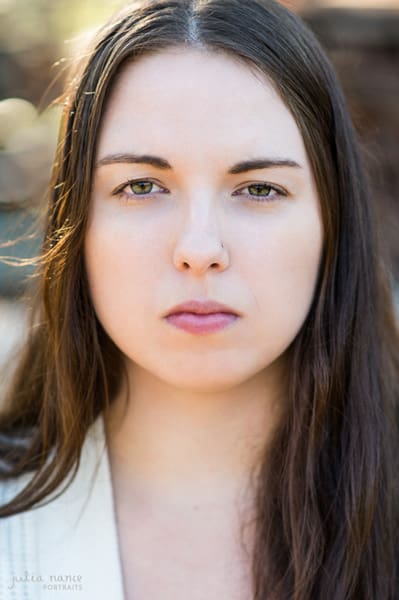
The images below were from an actor headshot session, and they have been fully retouched. You can see how much more of the image the headshot takes up – so more attention to detail goes into the retouching. The images from the personal branding session become focused on the person within the environment, and what their pose, setting and expression contributes to the image. I still touch them all up, but the process is just slightly different. Regardless, the goal is for them all to look polished.

So that’s a little bit about my retouching process!
I really enjoy this step in my work. It brings everything together, and my clients are always really happy with the results. Of course I check with them to see if they want anything adjusted, and am more than happy to work to their requirements or comfort levels. Some people want no retouching at all.
For those who are unsure about retouching, just remember that the camera picks up more detail than our eyes. Always have a chat to your photographer if you’re feeling unsure about the retouching included, or need to clarify their process.
If you would like to book your headshot session, you can book online!
Check out my services for actor headshots, corporate headshots and personal branding, or perhaps you’re just wanting nice images of yourself?